

The journey to Flexi Card was far from straightforward. Initially, I had no idea, and certainly no plans, to create a Flexi Card. I couldn't have anticipated everything I would need to learn, and that I would be capable of such a project.
It all started rather innocently...
Motivation
11.8.2020
Back then, I was inspired by Michael Obsieger and his ports of SG1000 games to Sord. I liked it because, since I became interested in Sord, there were tragically few games available for it. Experienced users in the '80s were already porting MSX games for its hardware similarity. So, I wanted to try it on my own (I was 13 at the time and lacked the knowledge). I didn't have to stick with MSX. I could reach for games from Colecovision, the mentioned SG1000, Sinclair, and others.
Porting
I started with Coleco, where, similar to MSX, you have to change a few ports and other details, but I won't go into details now, maybe I'll write a separate post about it later. After modifying the game, I tested it in the MAME emulator because debugging is easier there, and game modification is much simpler. When the game ran smoothly, I started testing it on Sord. But loading from WAV over and over again bored me. For emulating Coleco games, at least 32 KB of RAM is required. Since my EM-64 memory was broken around that time (another coincidence that contributed to the creation of Flexi Card), testing became a hassle. I sent the game for testing to the Sord FB group a few times, but real Sord testing still didn't work. I didn't want to bother other members with my attempts. I needed to test it myself! Even though my brother made a new 64 KB RAM based on VHDSL, and I could test it on Sord again, it still wasn't right. I wanted a complete transfer of the game to function as an original cartridge for Sord without additional memory. I wondered how to make a ROM without the need for constant reprogramming. I started googling how to emulate a ROM with an SD card conjunction. I came across several promising projects back then...
Crash, Actually KernelCrash!
...on January 9, 2022, I shared a link to a promising project on the FB group, hoping that someone more experienced would make a modification for Sord. Unfortunately, no one took it on, so I decided to tackle it myself. Fortunately, KernelCrash1 had good documentation along with source codes, so I could "learn" how it's done and how it works.
Implementation
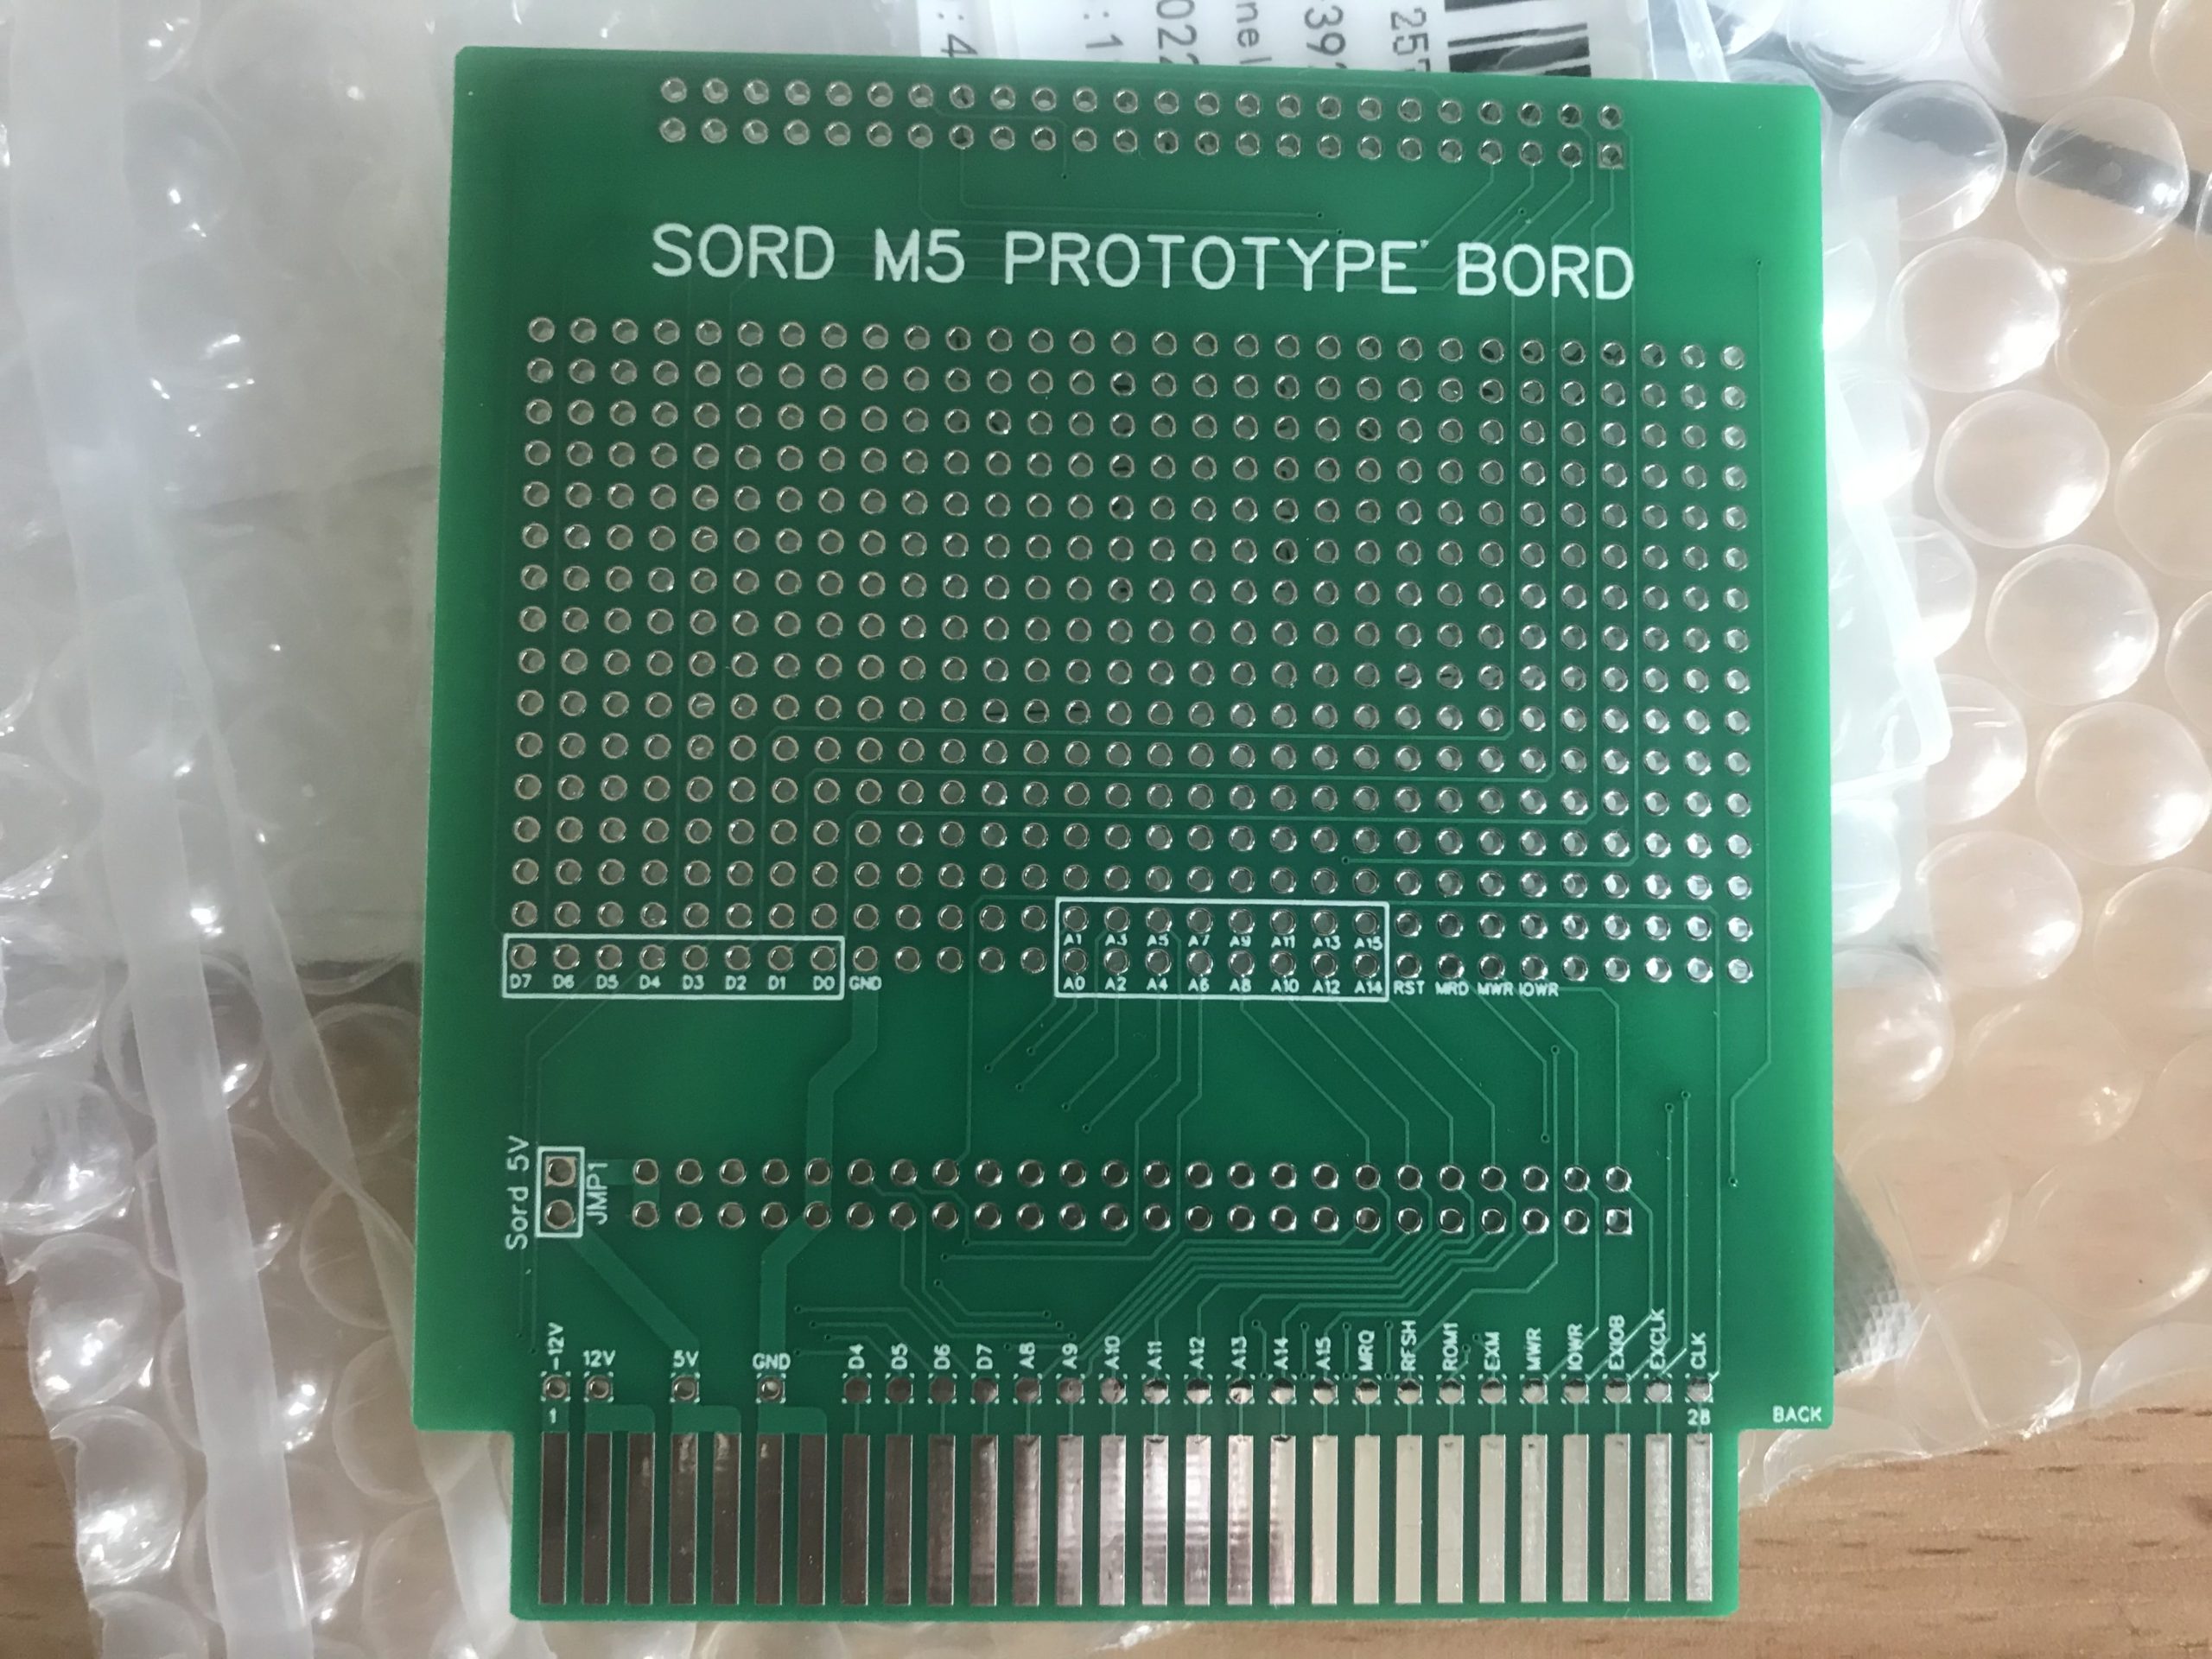
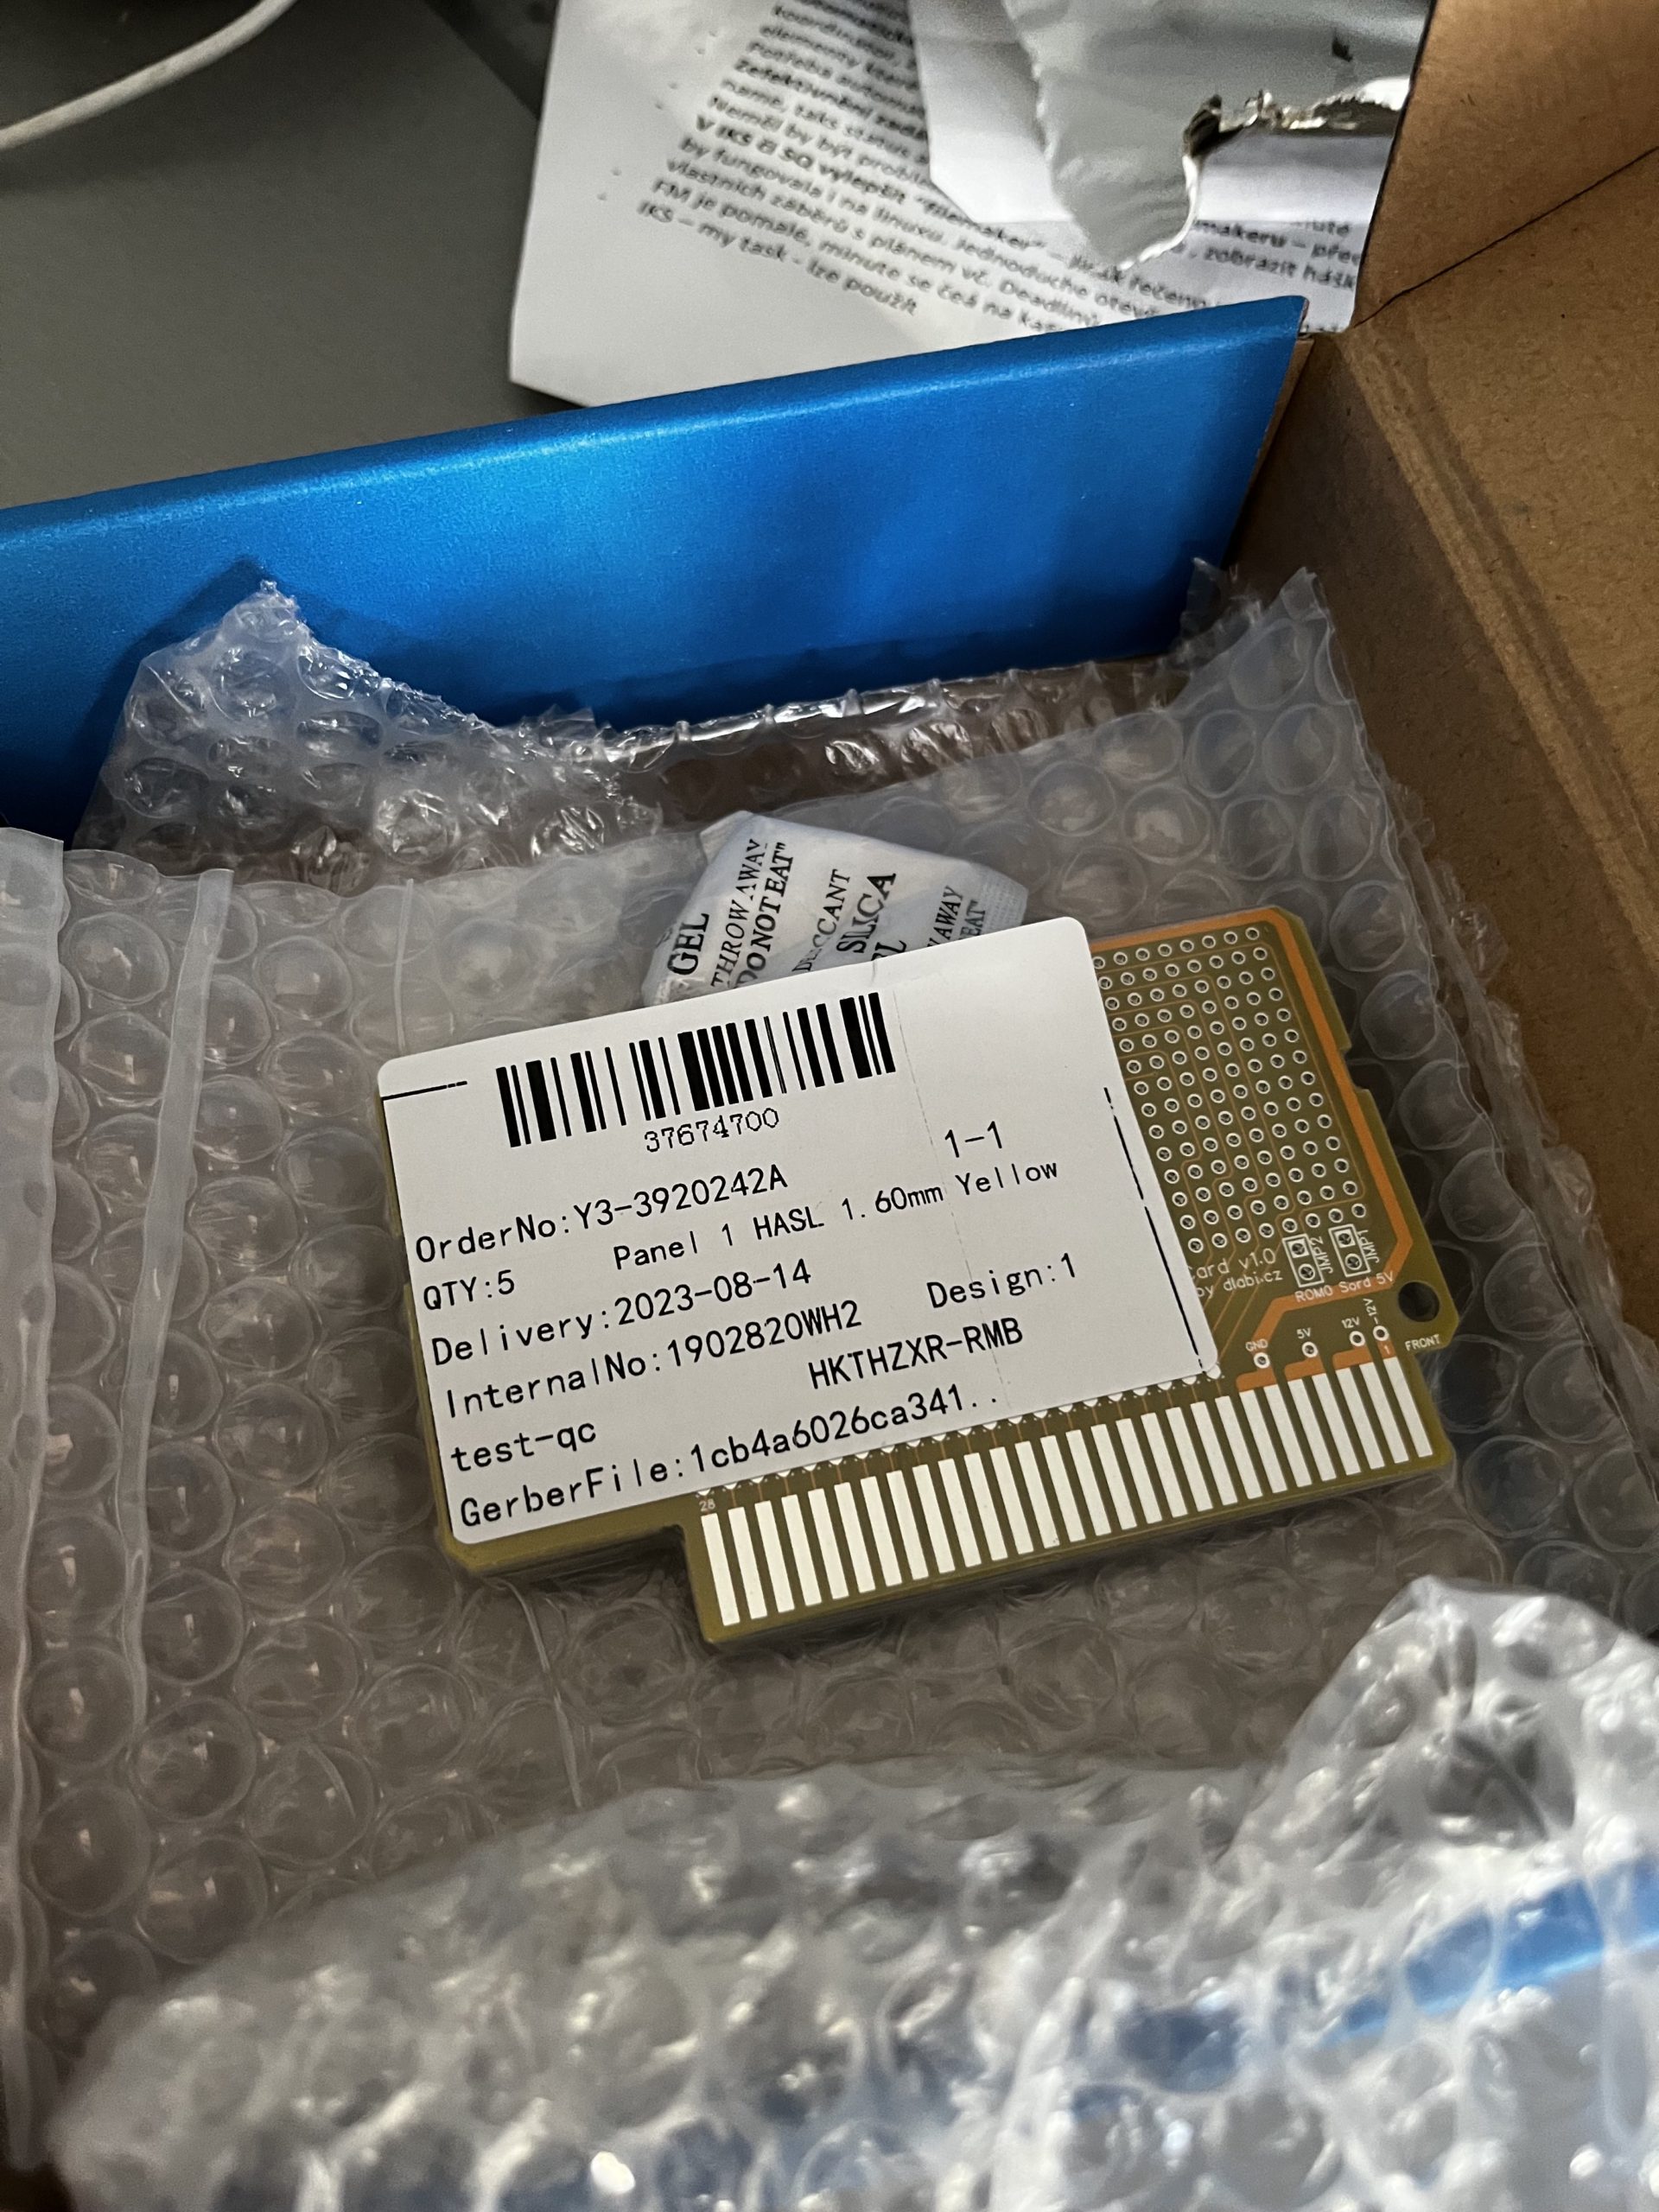
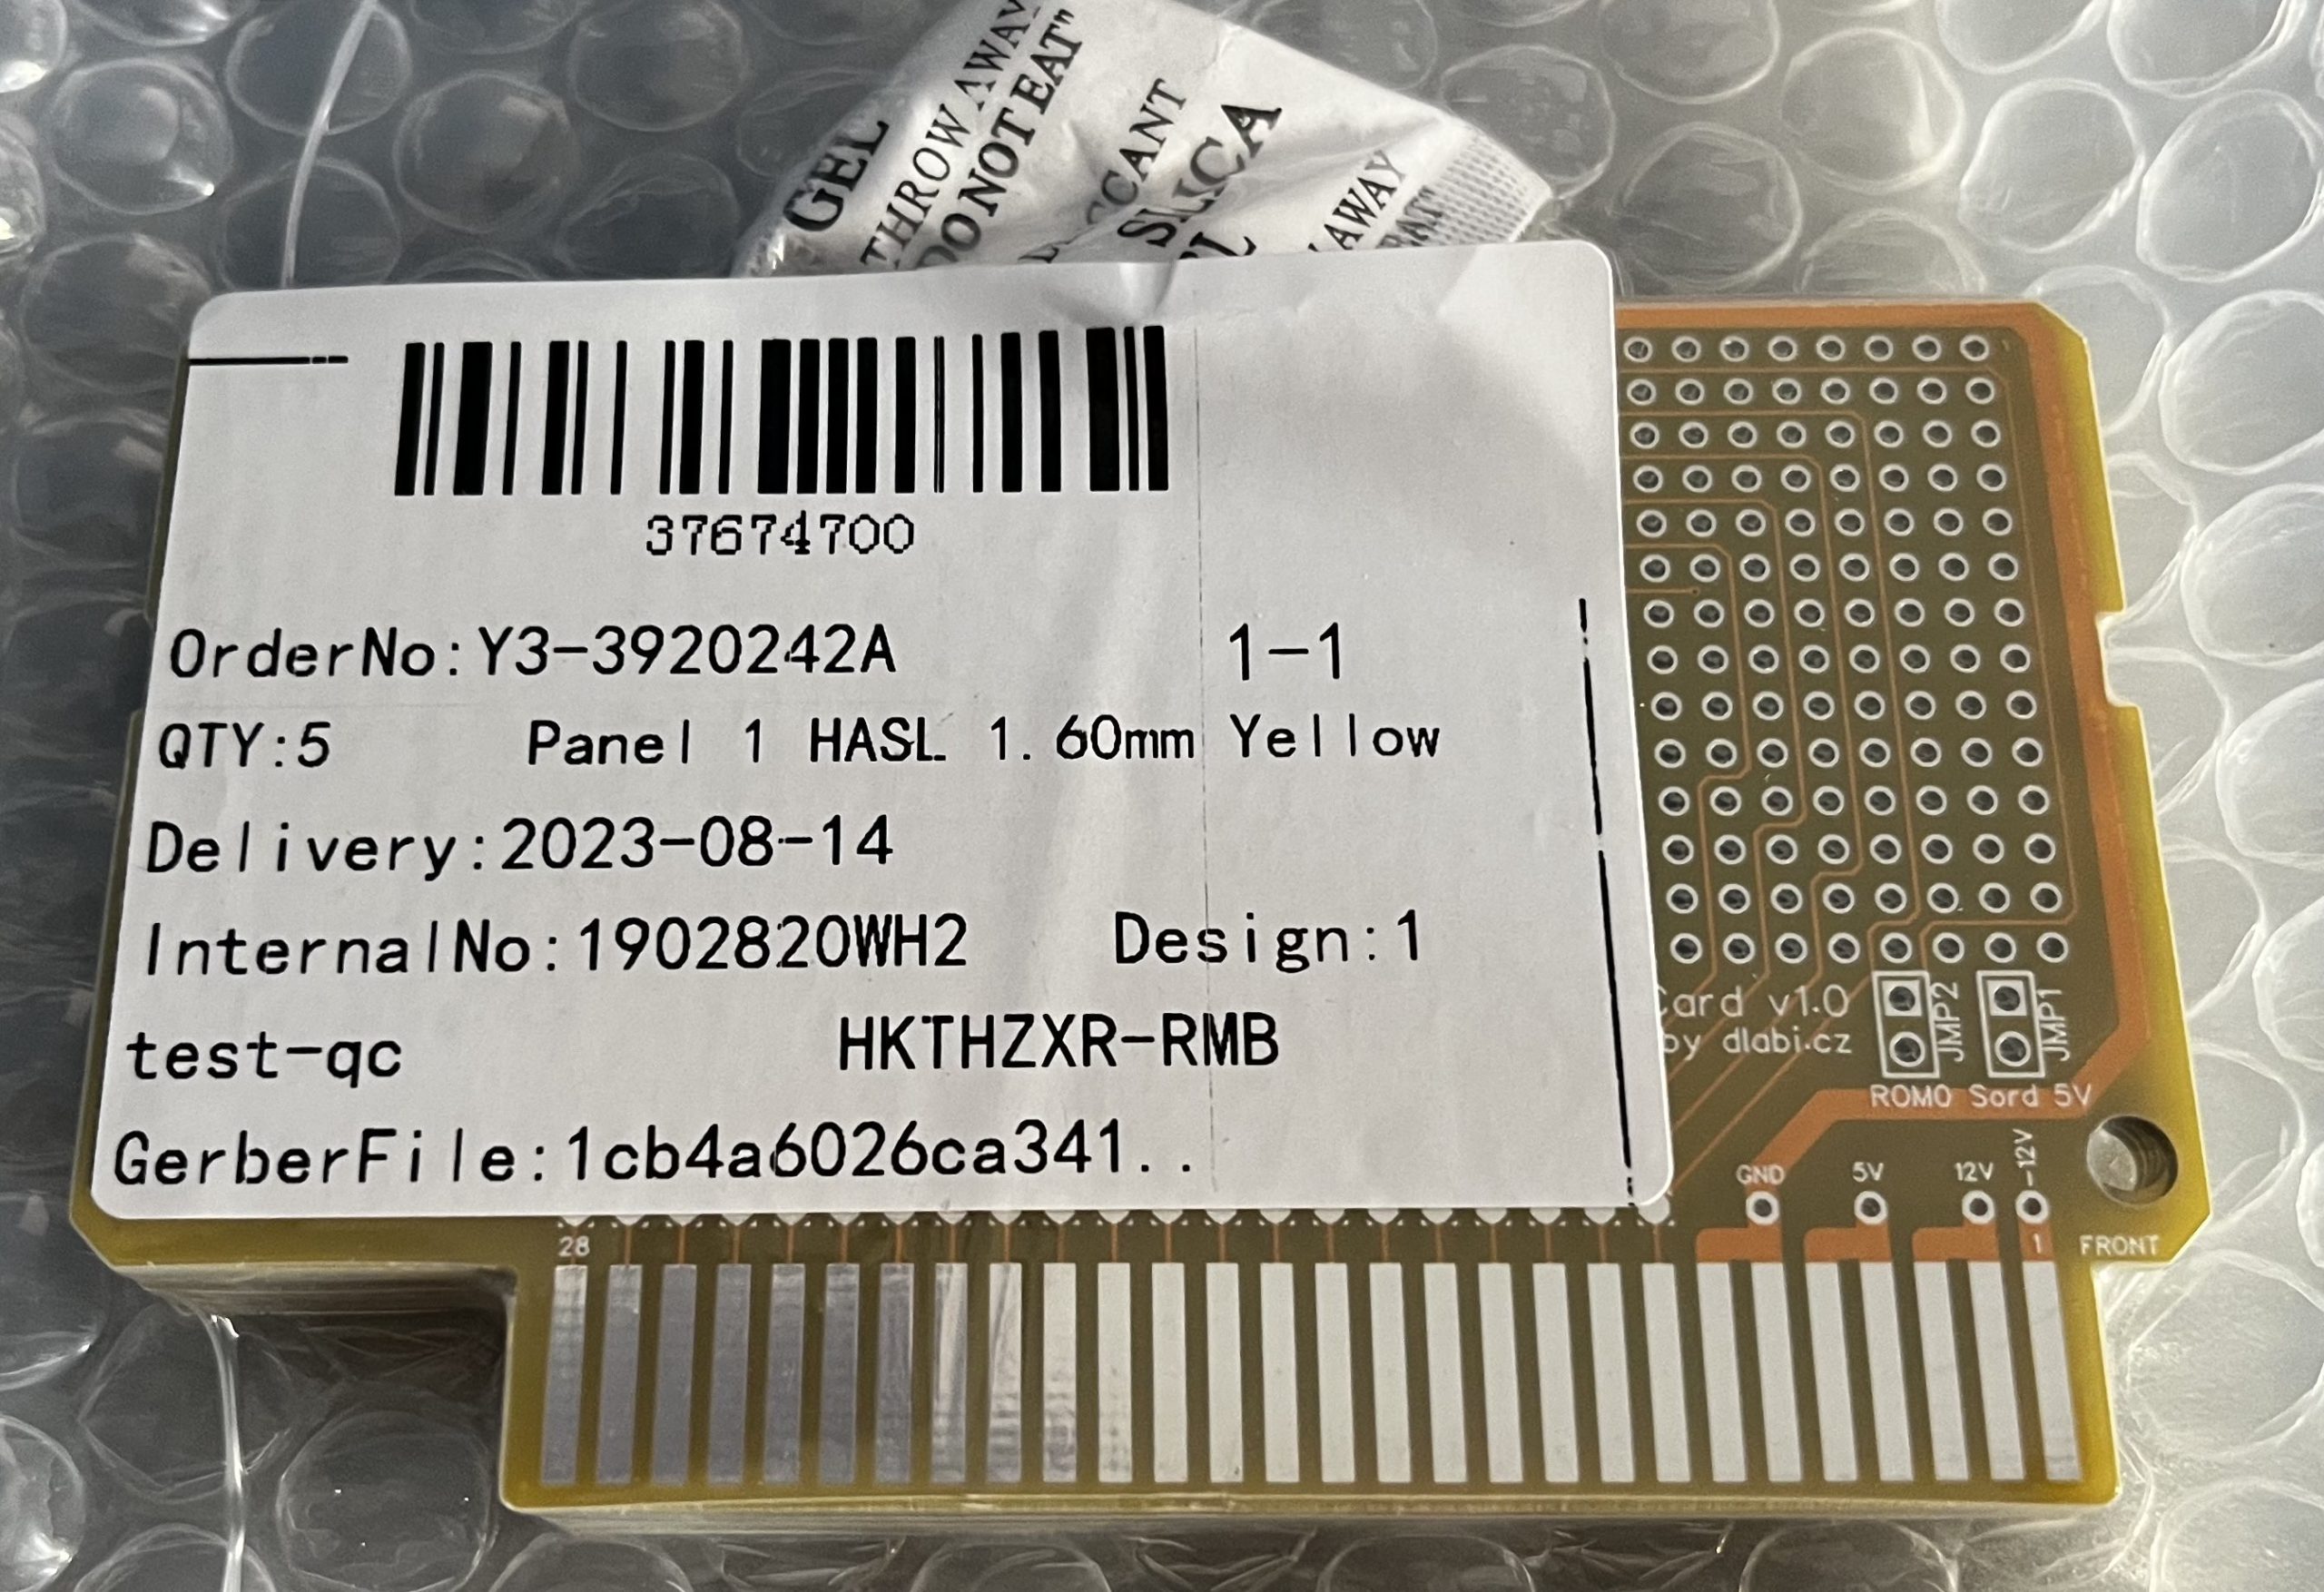
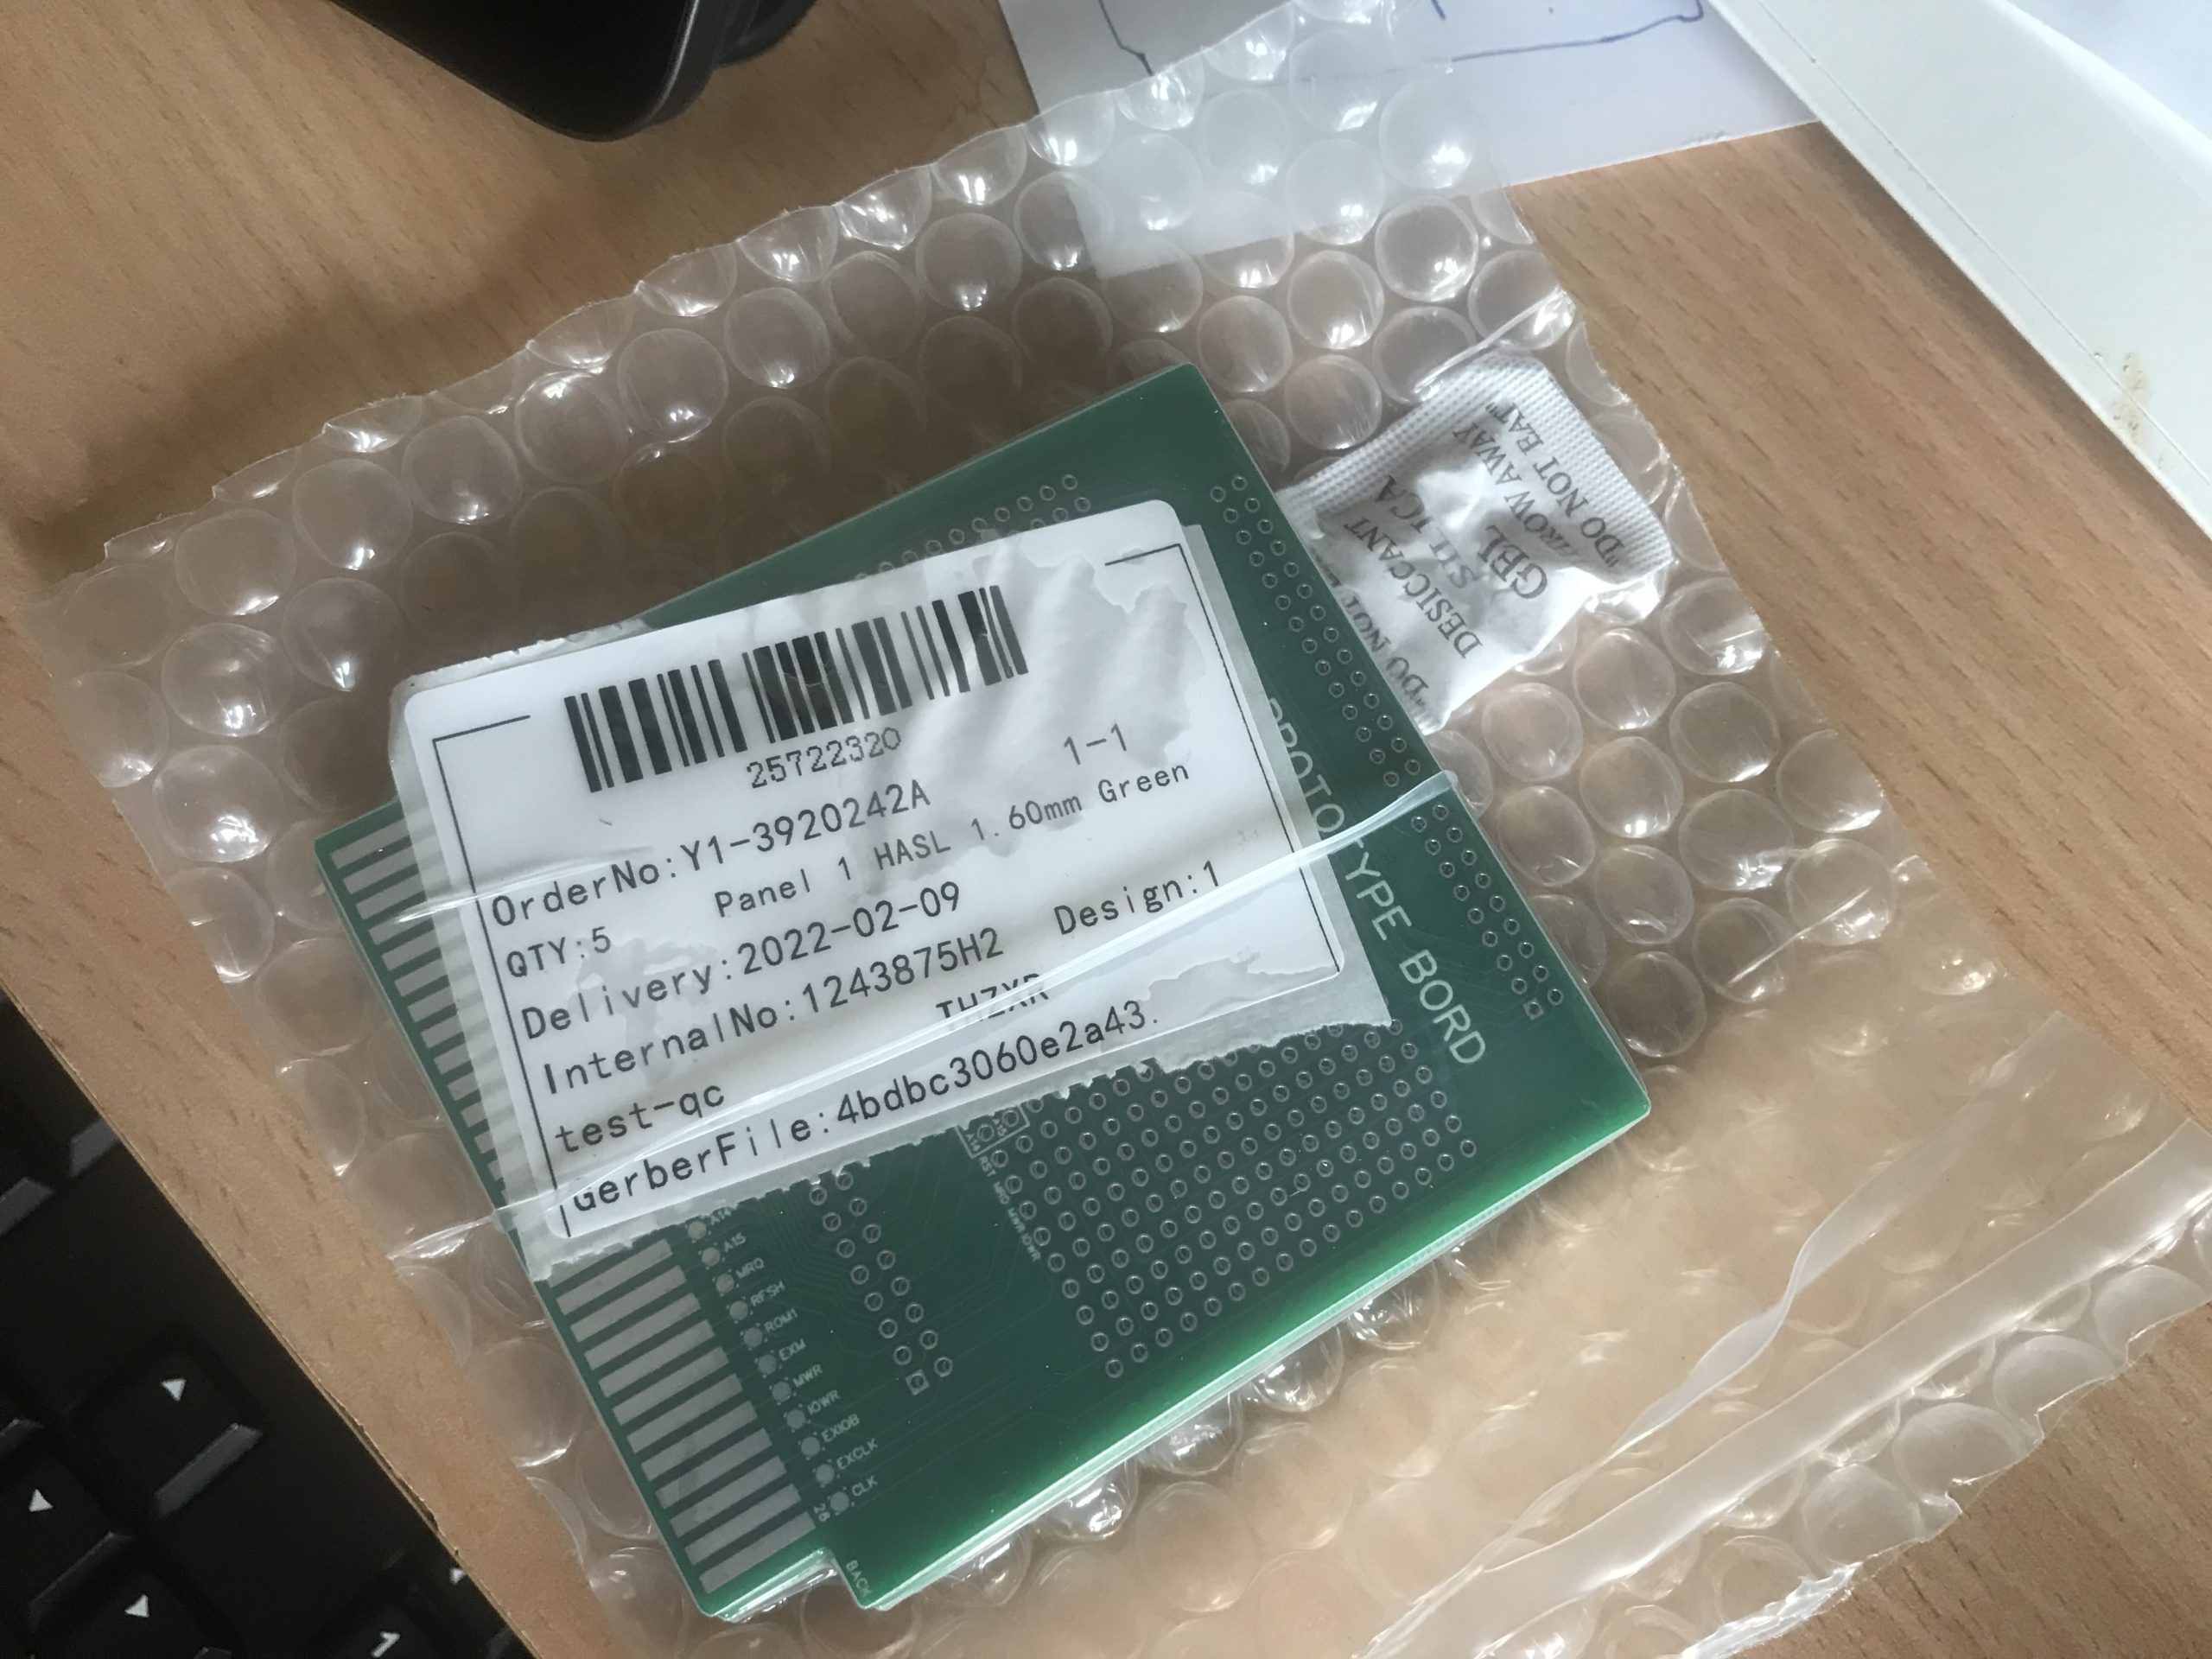
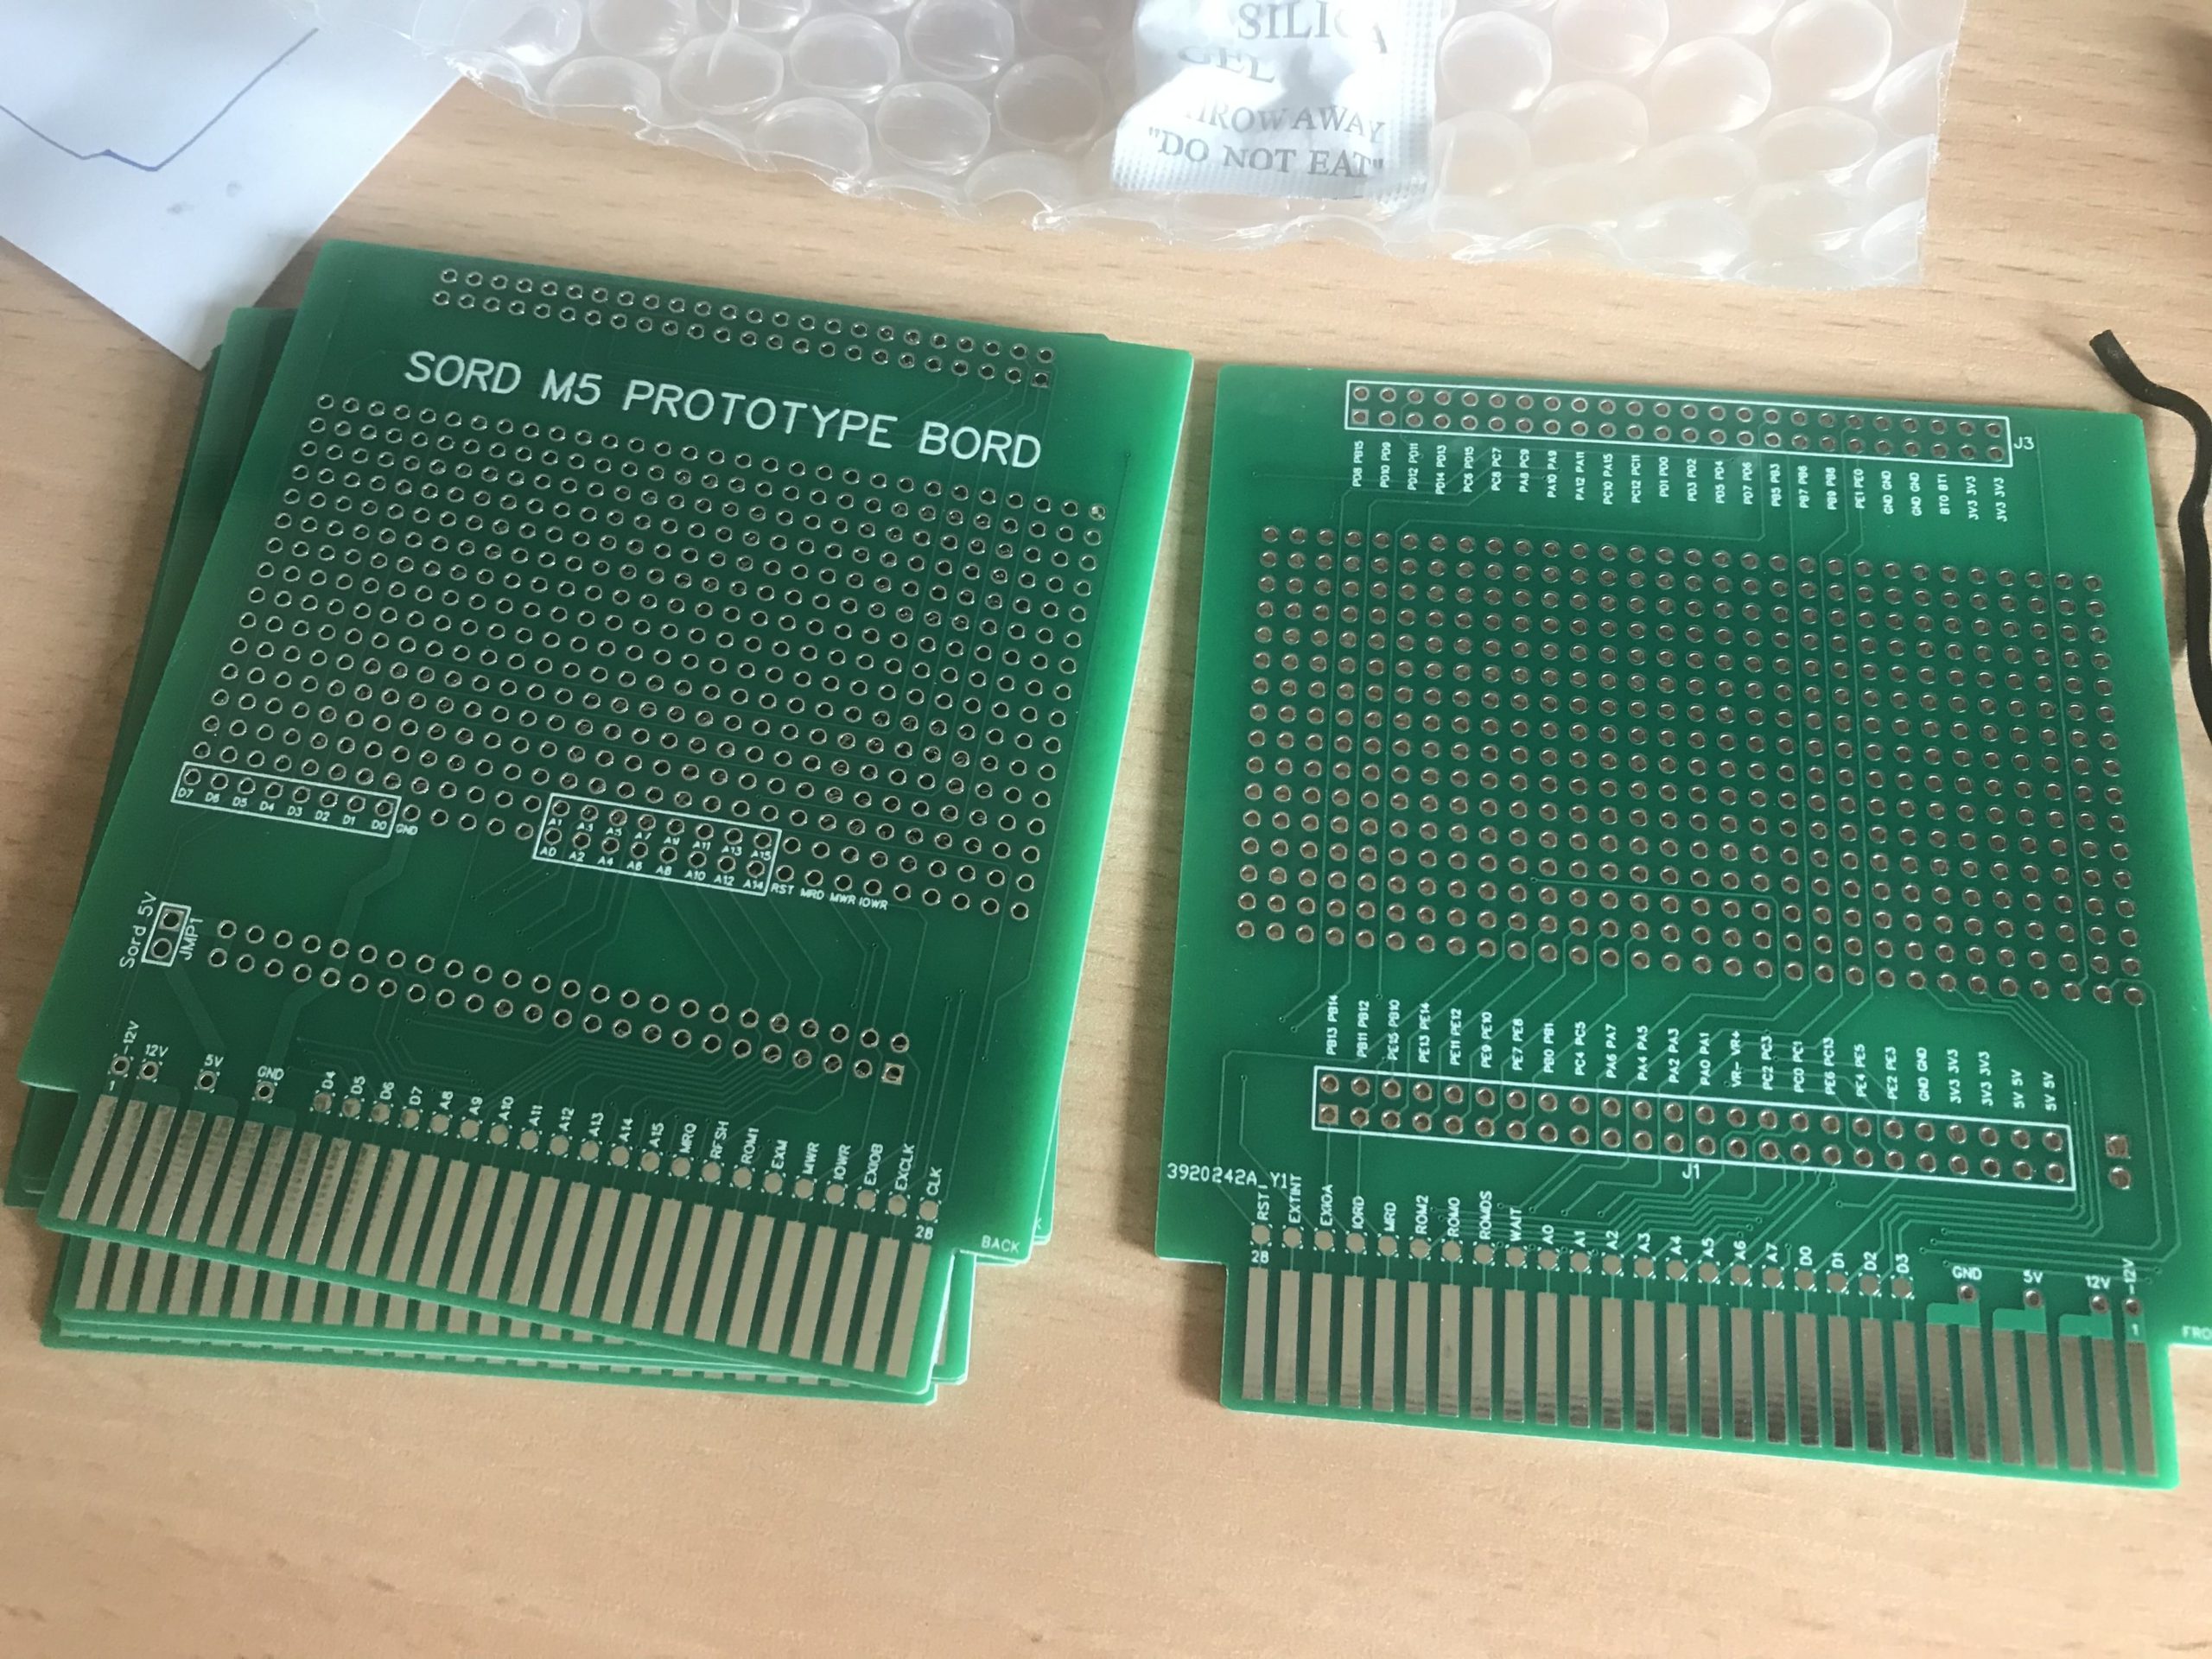
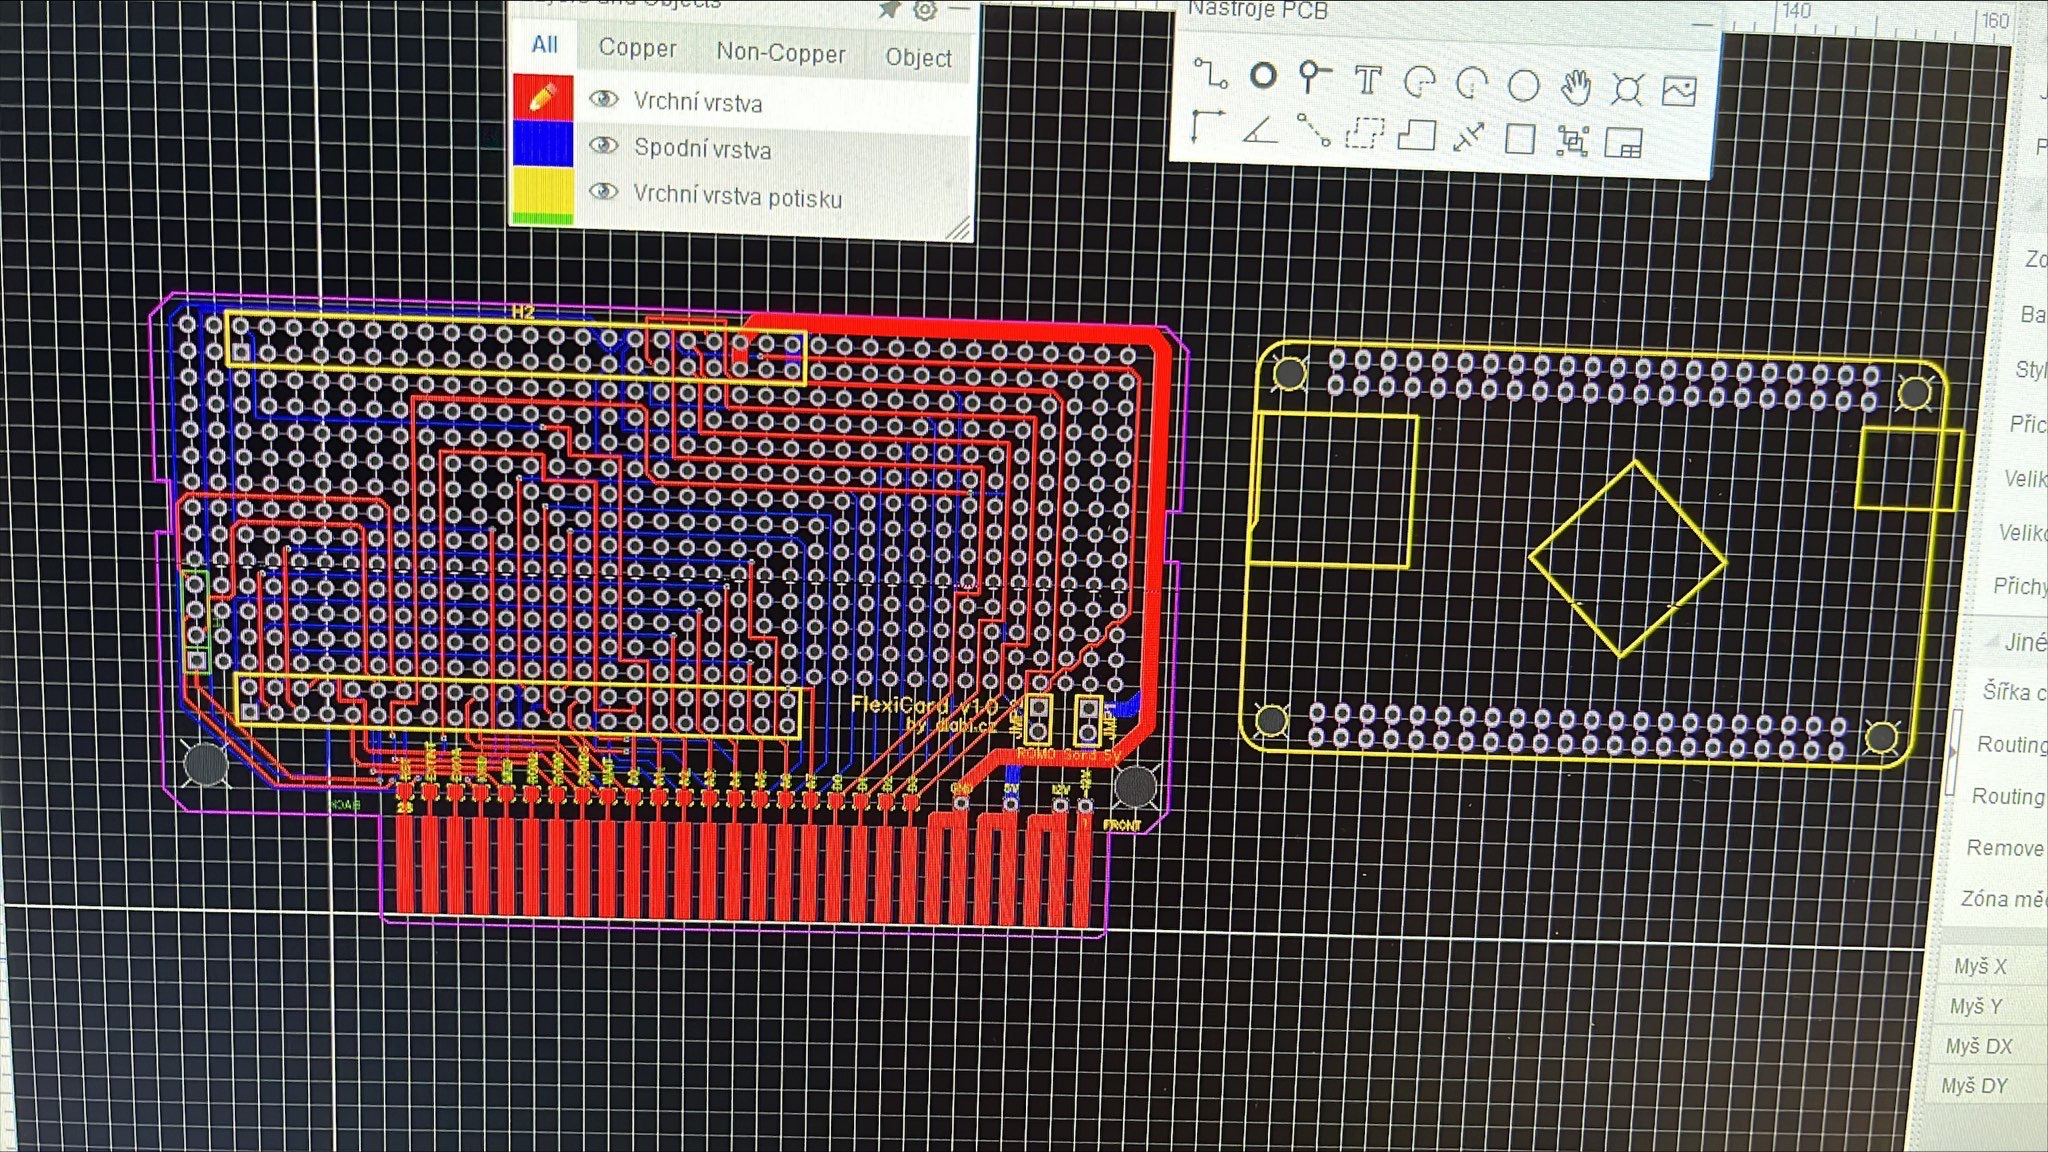
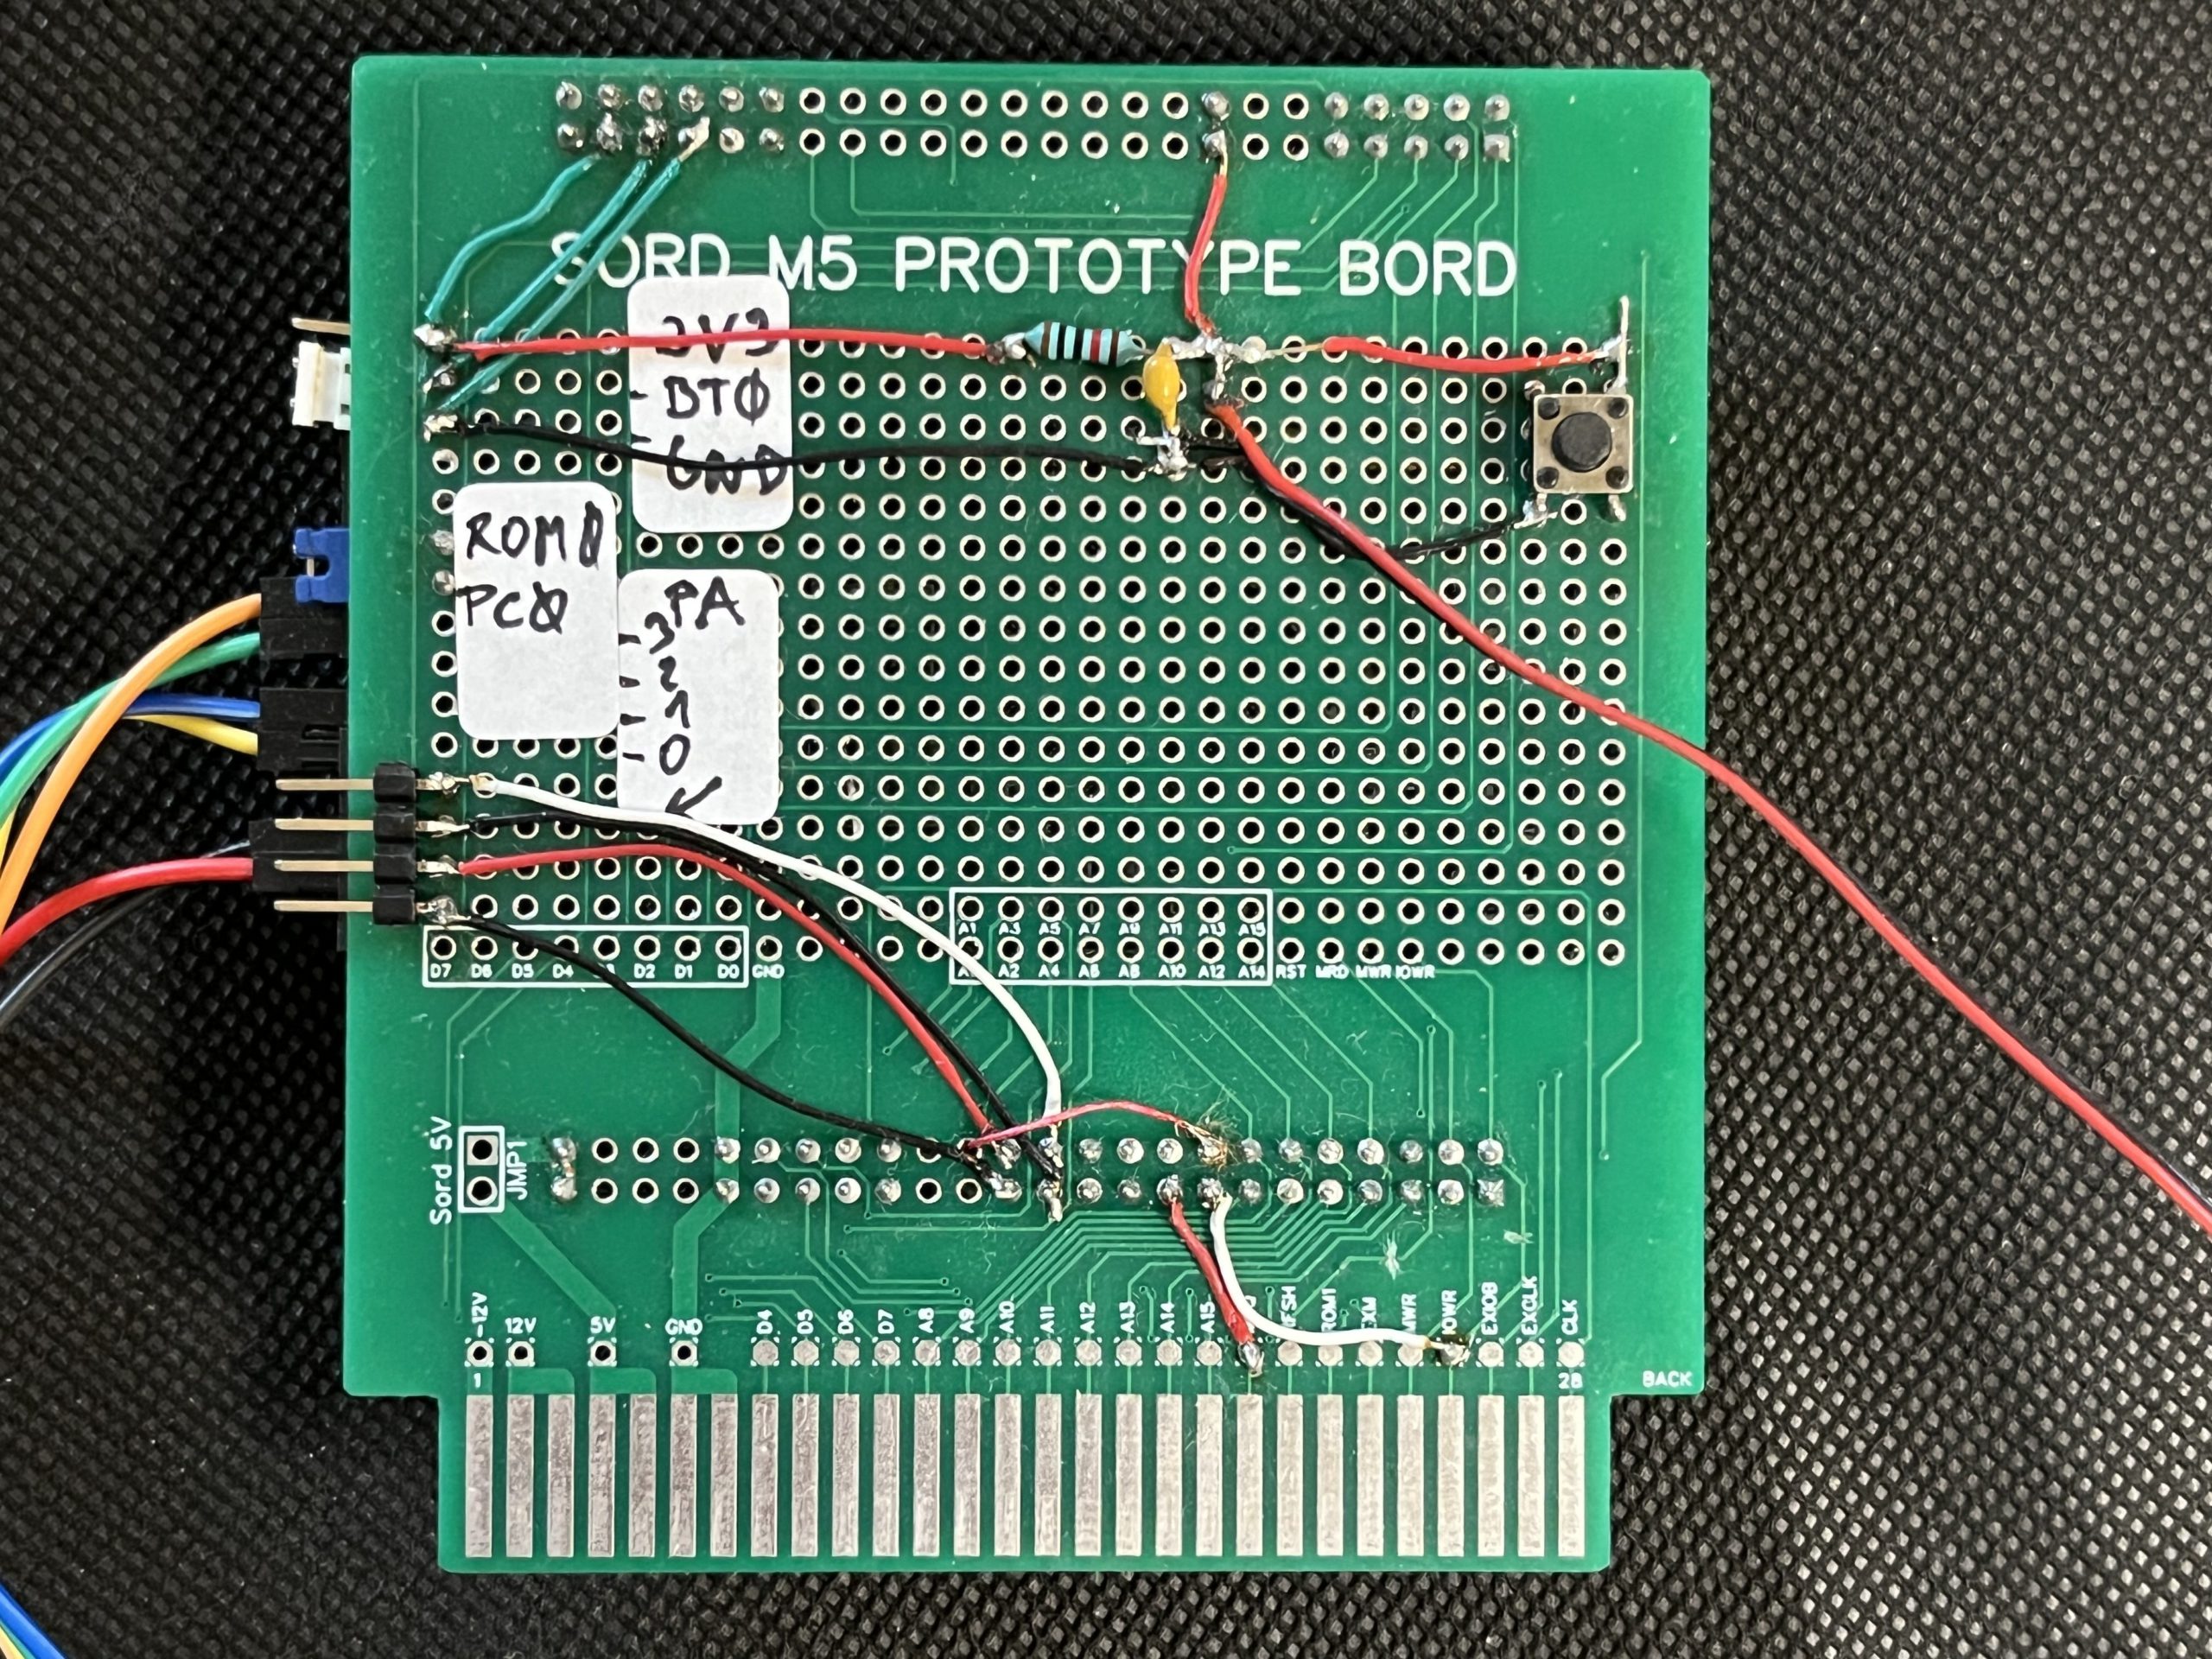
The project began to take clear shape, but how to start? I would need a prototype board to which I could attach an STM32 dev kit. Hmm, but how to find a suitable prototype board? While a universal perforated board existed, it was quite small and not suitable at all. Well, have you heard of EasyEda2? If you're looking for an online "out of the box" solution from the schematic to the board design, I highly recommend it. The advantage is that the designs made here meet all the conditions/requirements for board production. They really have it figured out! The minimum order is 5 pieces, but hey, it's worth it for the fun. For about $10 (and they often have discount promotions), you get something that would be difficult to make at home.
Everything as it should be. Solder mask, silver-plated contacts, hole plating, printing—fantastic! You can configure everything according to your preferences. Additionally, for a fee, they offer component assembly, using the parts you selected from their catalog during the design.


The first step was fun, and the next step was to obtain a Chinese clone, the so-called Black Board with the STM32F407vet63 (vgt6) dev. kit. Unfortunately, when I started looking for it, the whole world was still craving for chips, so the price went from $10 per board to almost $20. First, I got the larger variant, which paradoxically was cheaper, and only then the mini version4, which would be better for the final product and fit into the cartridge box.Unfortunately, it turned out that the components had to be soldered directly onto the PCB to fit into the box.
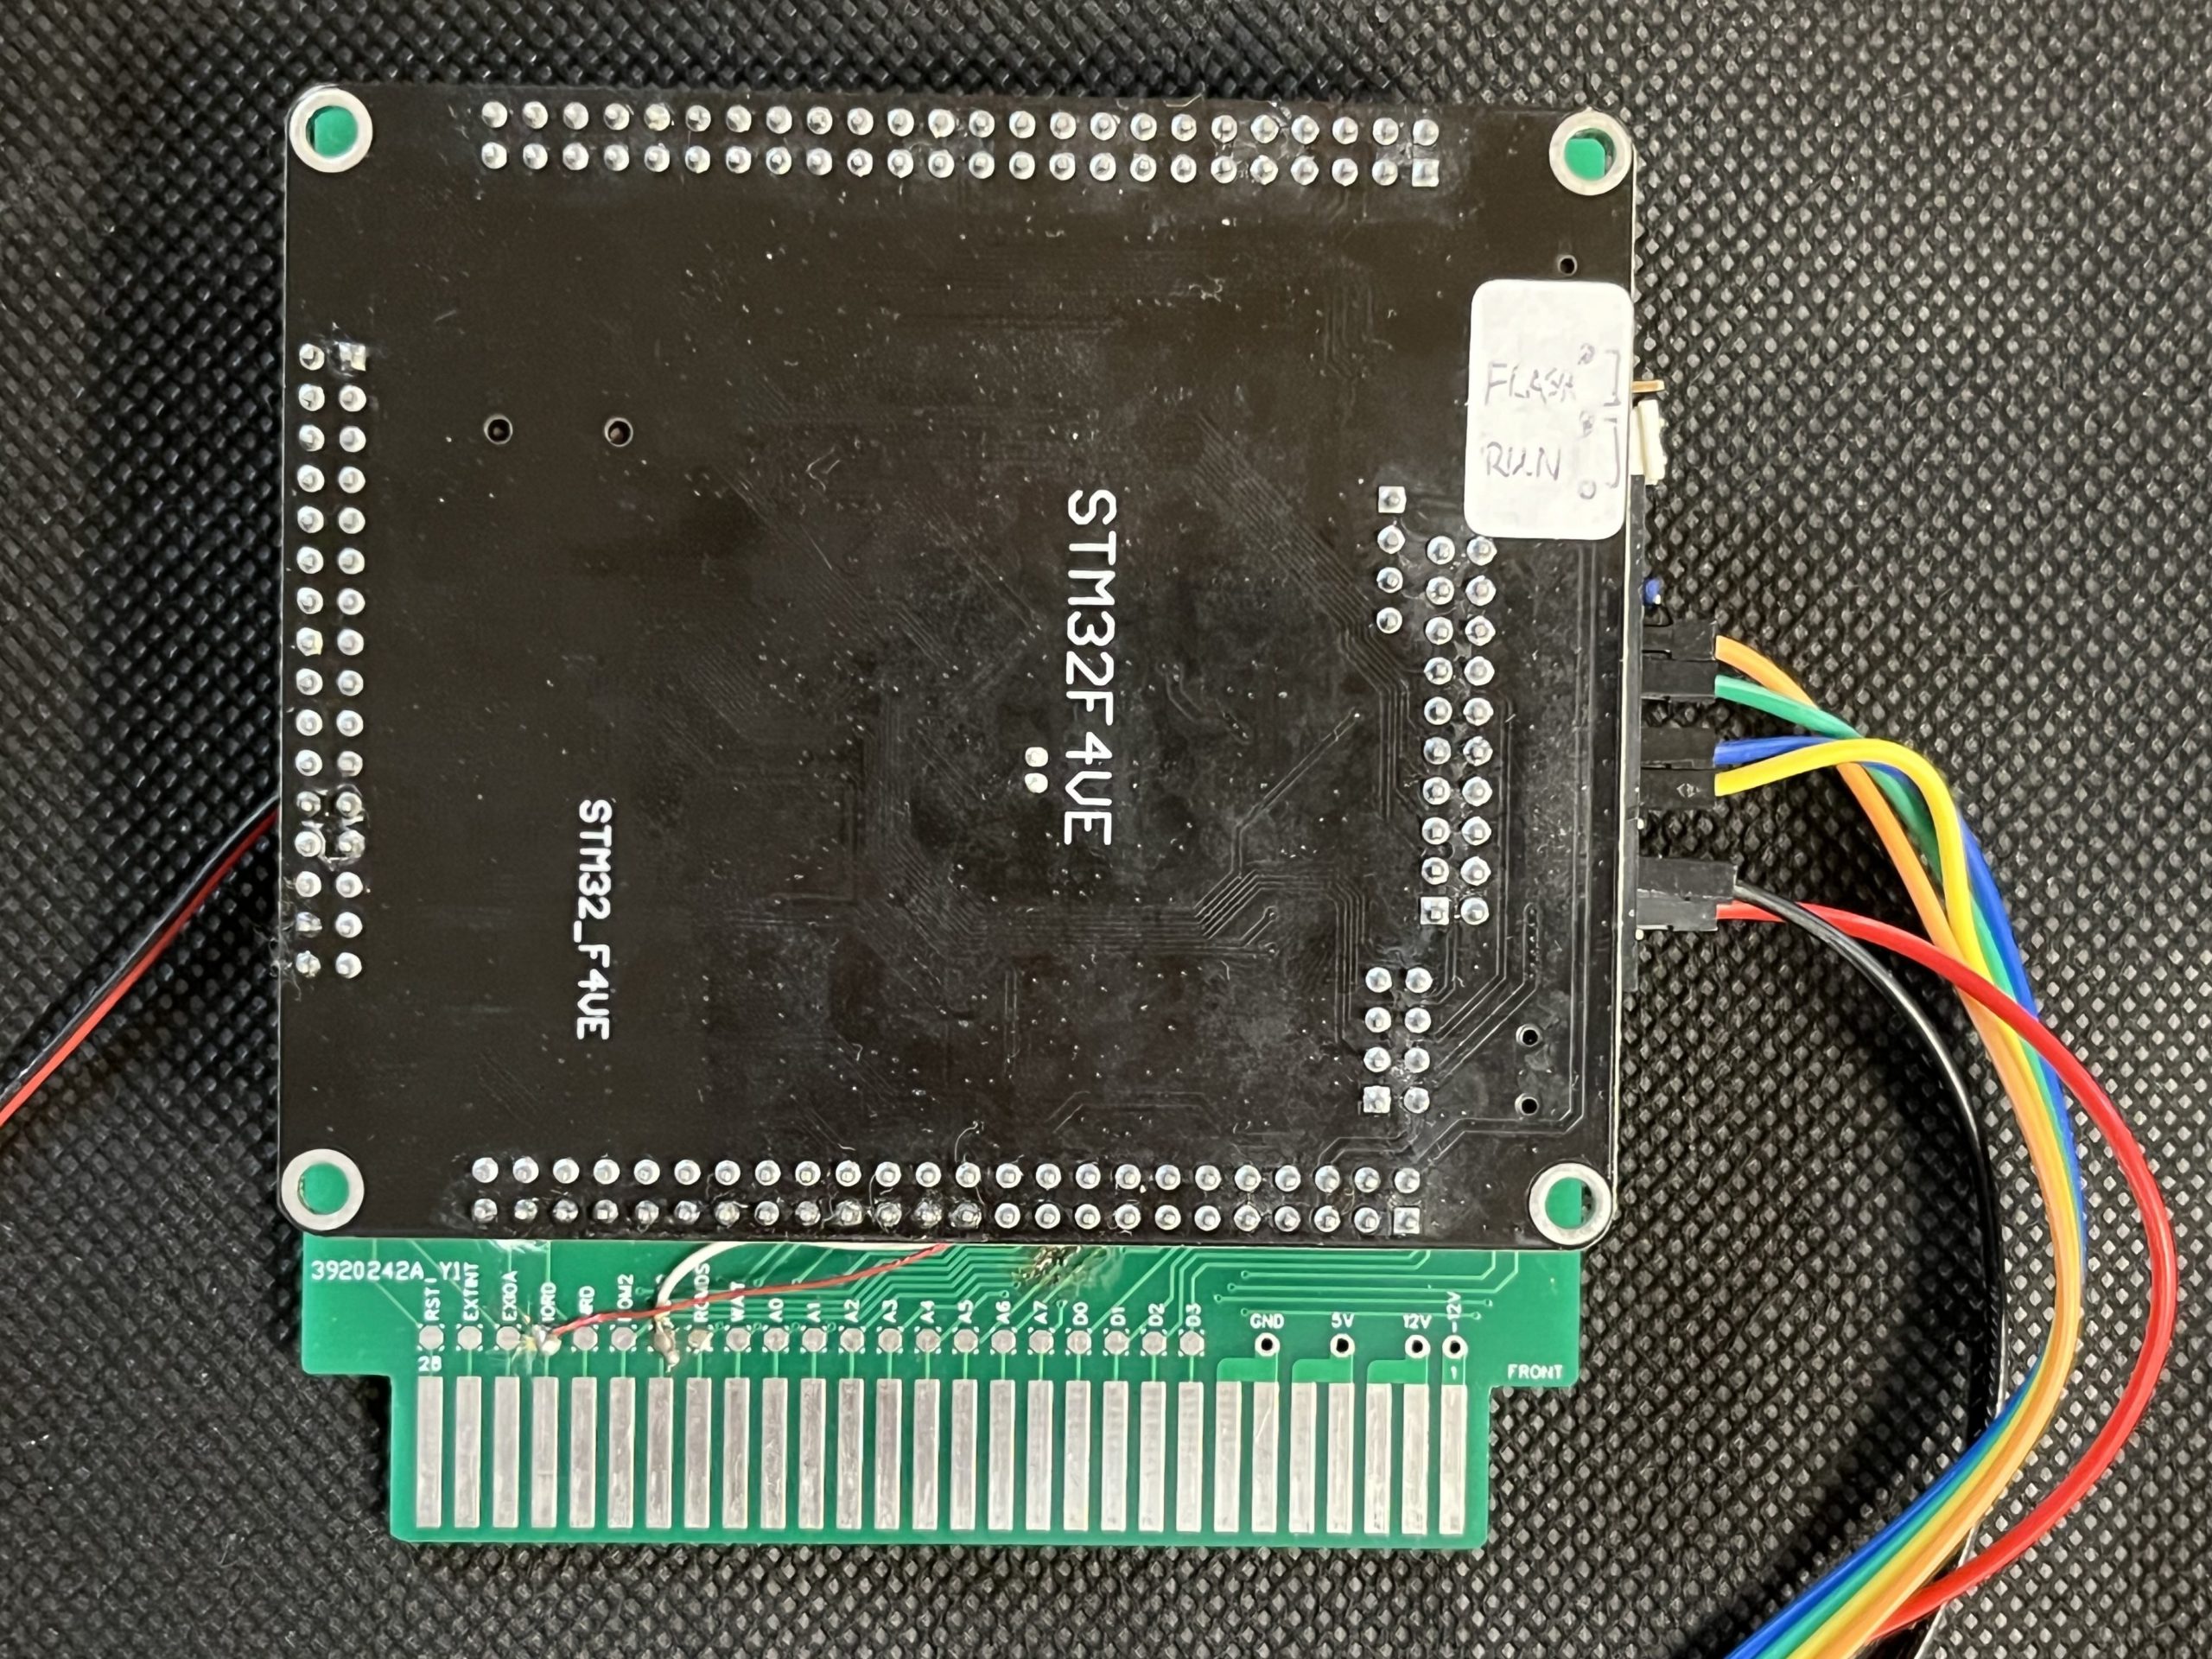

Why STM32F407, anyway? This processor (and not just this one) has several advantages: most pins are 5V tolerant, it's fast enough for handling memory, it has an integrated SD card reader, and, finally, you don't need a separate programmer; it's part of the board. You just have to connect it via USB to the computer and boot it into DFU mode, where you can flash it using freely available software.
Now I have to decide on the development environment. For STM32, there are commercial as well as free programs like Keil, Cube, CubeMX, IAR. The advantage would be 100% processor support with a nice graphical interface, debugger, and everything that goes with it. On the other hand, the KernelCrash project was built on a Linux environment and used make for compilation. I liked that such a project can be compiled anywhere, even without an IDE; you just need to have the Arm toolchain installed. I decided to continue in the same style. I chose the versatile VS Code as the IDE, which, with a few plugins, can also handle debugging. Because I own Windows but the development environment is better on Linux, I use WSL with the Ubuntu distribution. My brother chose the combination of VS Code + PlatformIO5 and didn't need WSL.
The project is conceived so that the time-critical code is written in assembler, mainly routines for accessing memory, which are called using STM32 interrupts. The rest of the program is already in C and uses the low-level CMSIS6library. There is a small code abstraction, which users will feel in the need to set up hardware directly through registers. In return, the code is fast and lean.
I created the code gradually. First, I focused on writing to RAM, which doesn't require sending anything on the bus but only its reading. Then, I dealt with reading RAM and emulating ROM. Initially, I emulated the Flexi Card 64KB RAM module, which is essentially the original EM-64 + Basic I. Later, I decided to replace it with 64KBF, which provides more memory modes and has the same software support as EM-64. The work progressed more or less without problems; everything worked correctly, except for MSX (and a few other programs I tested), where it always froze. I stared at the code for hours and still had no idea what was wrong.
It's important to realize that each change requires re-flashing the firmware, and there are not unlimited write cycles. It was necessary to start looking for the error differently.
Debugging
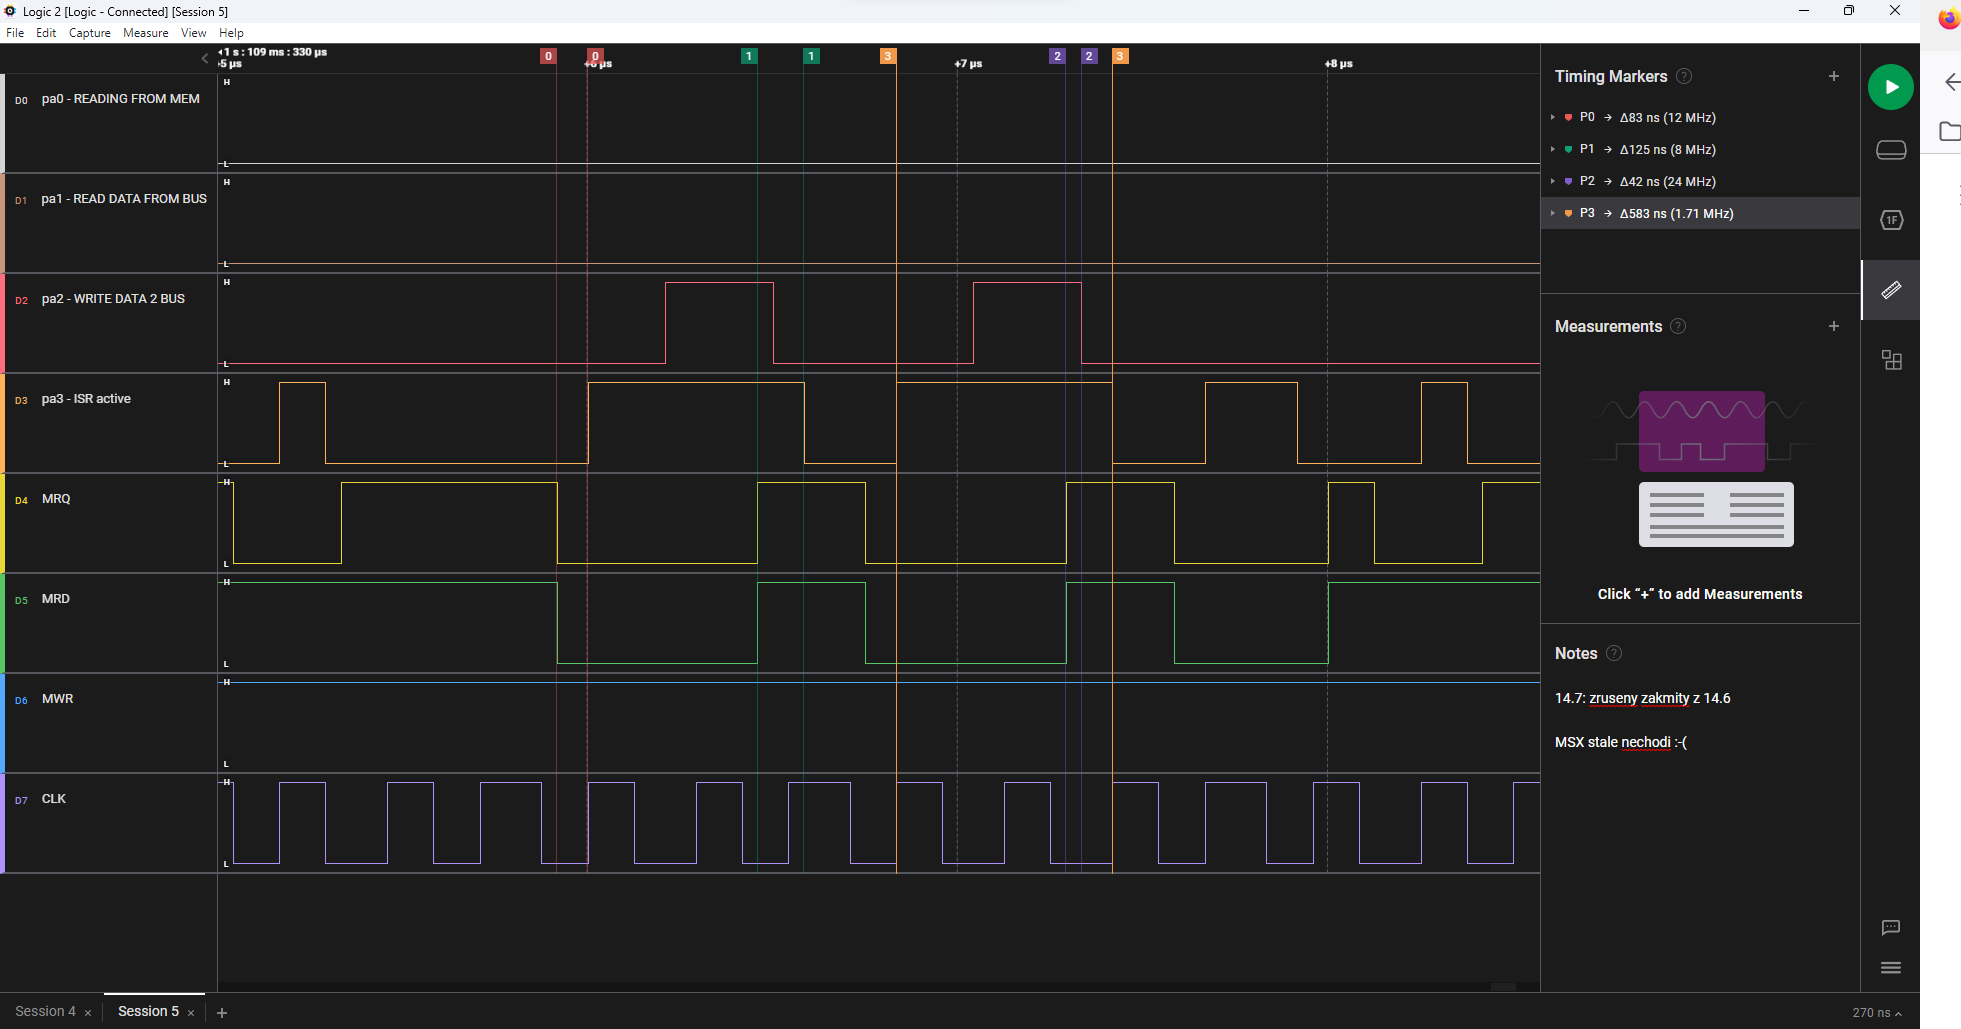
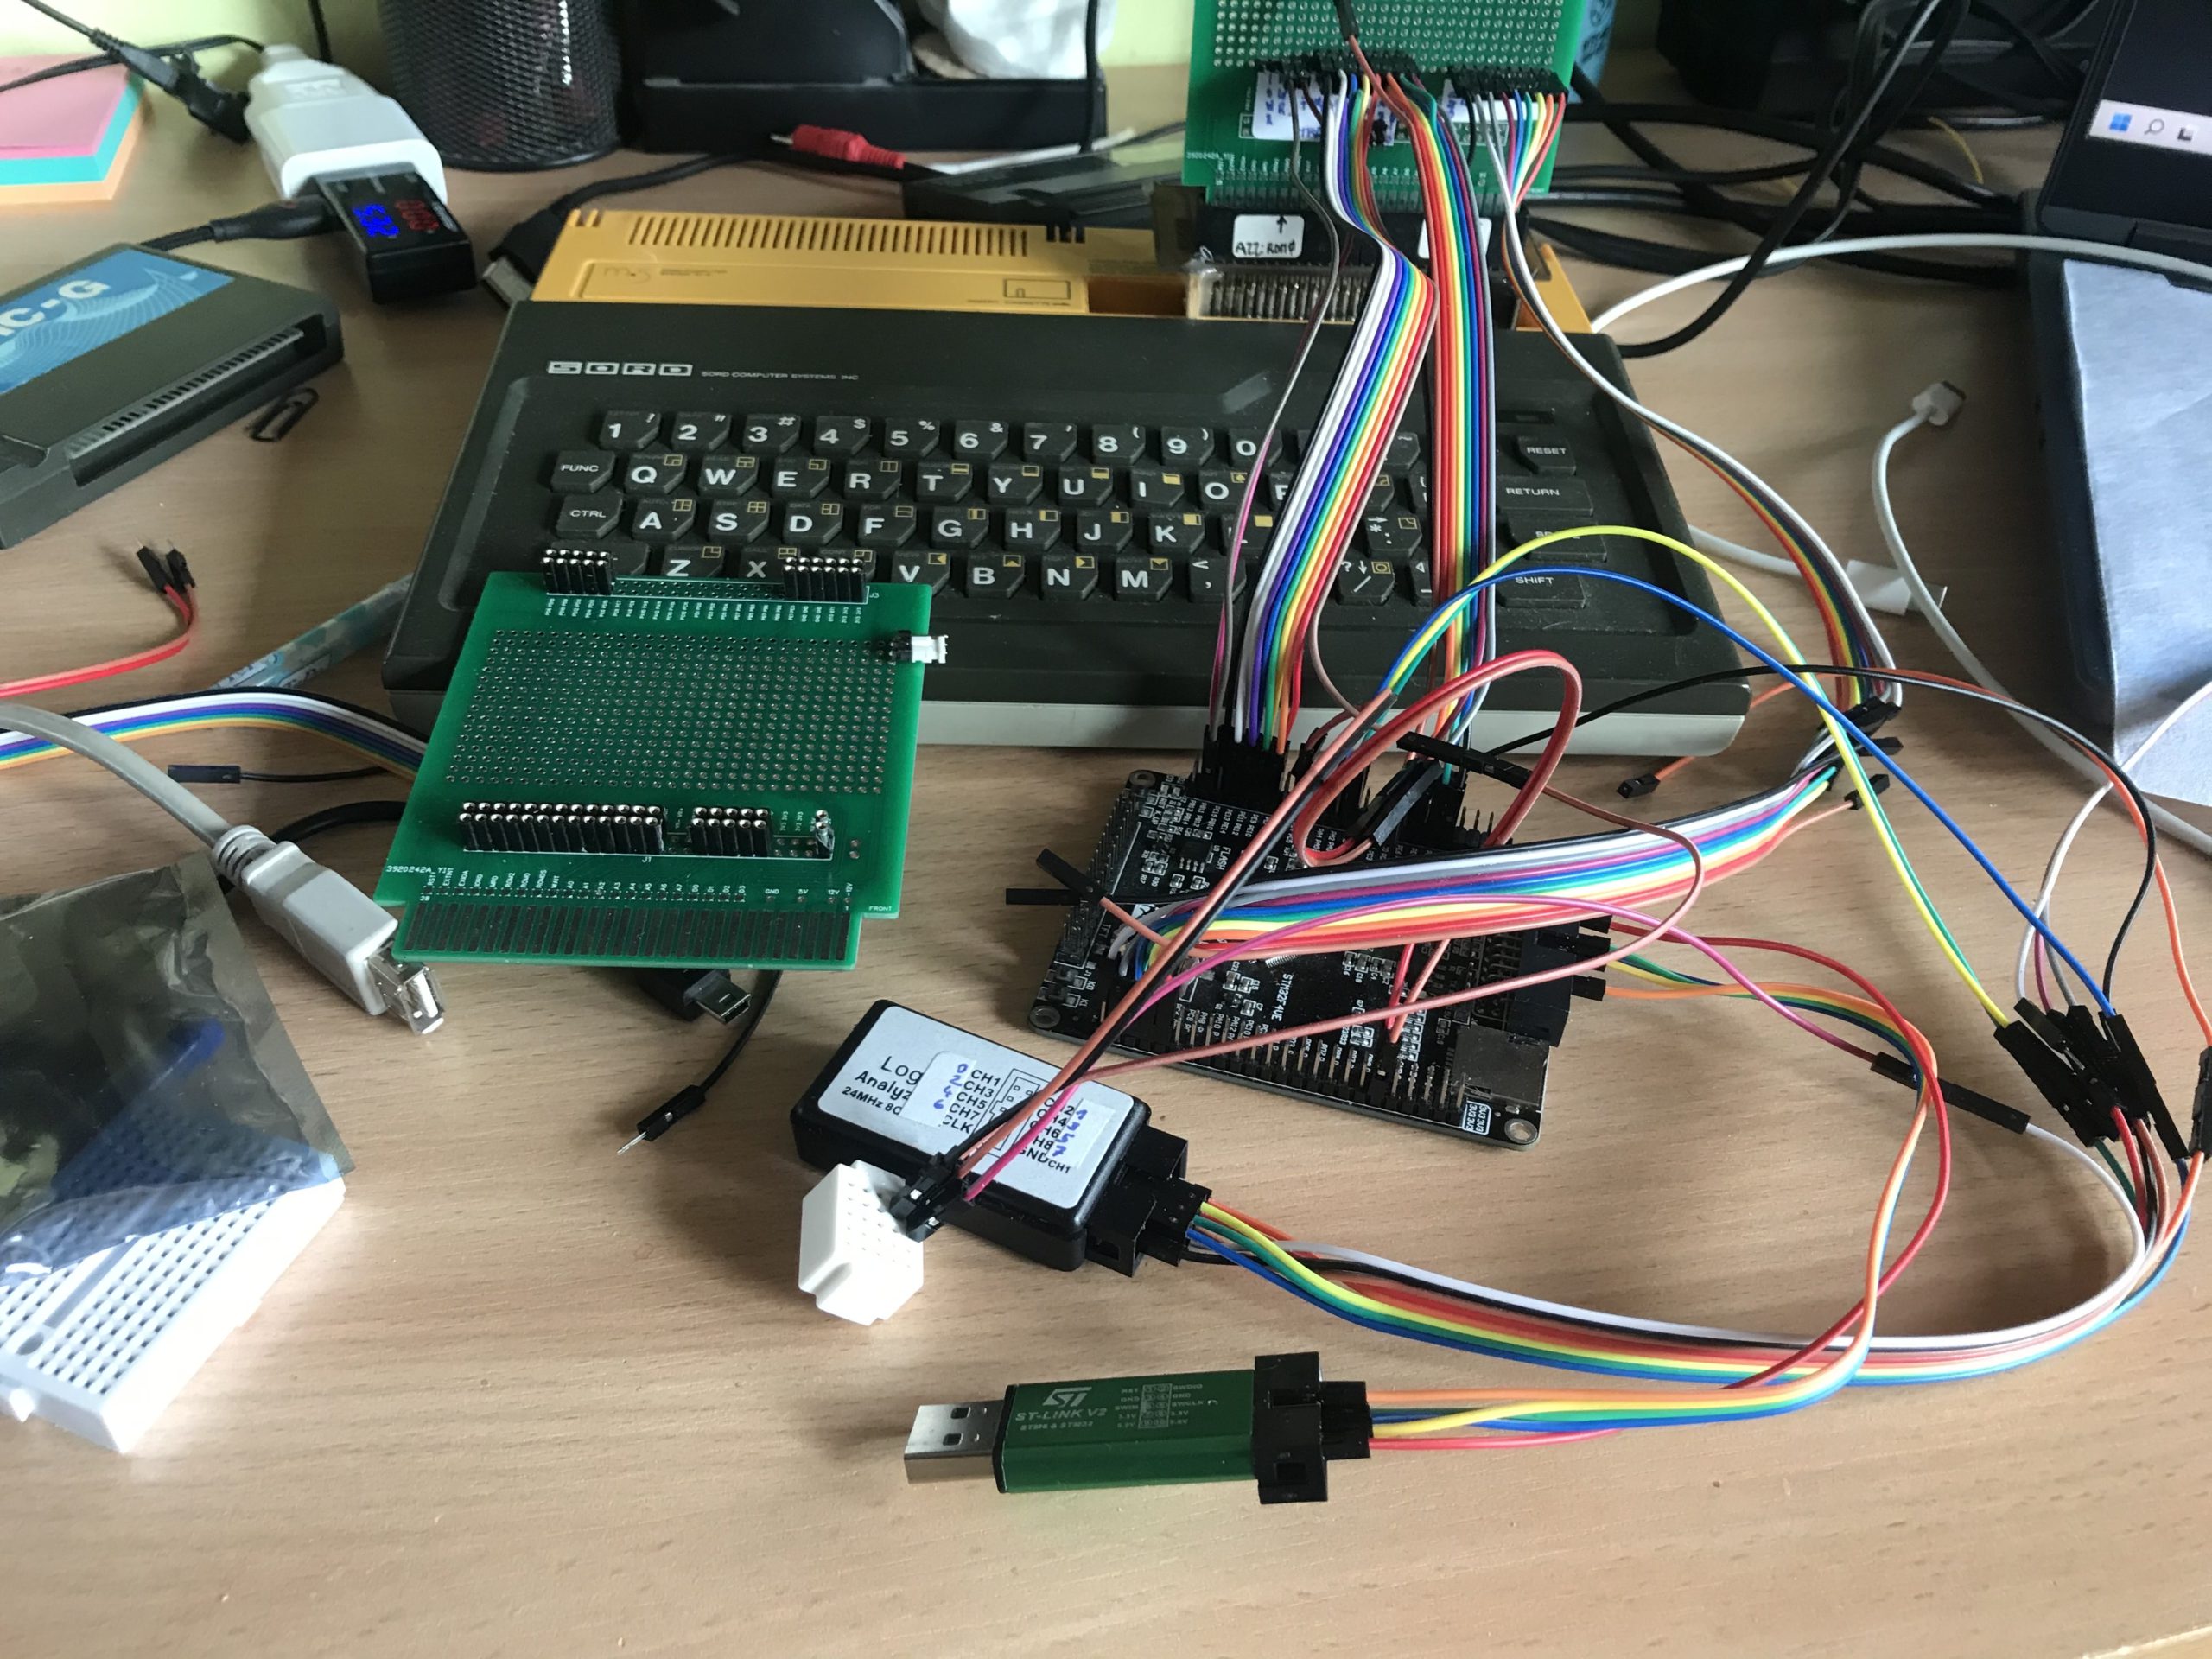
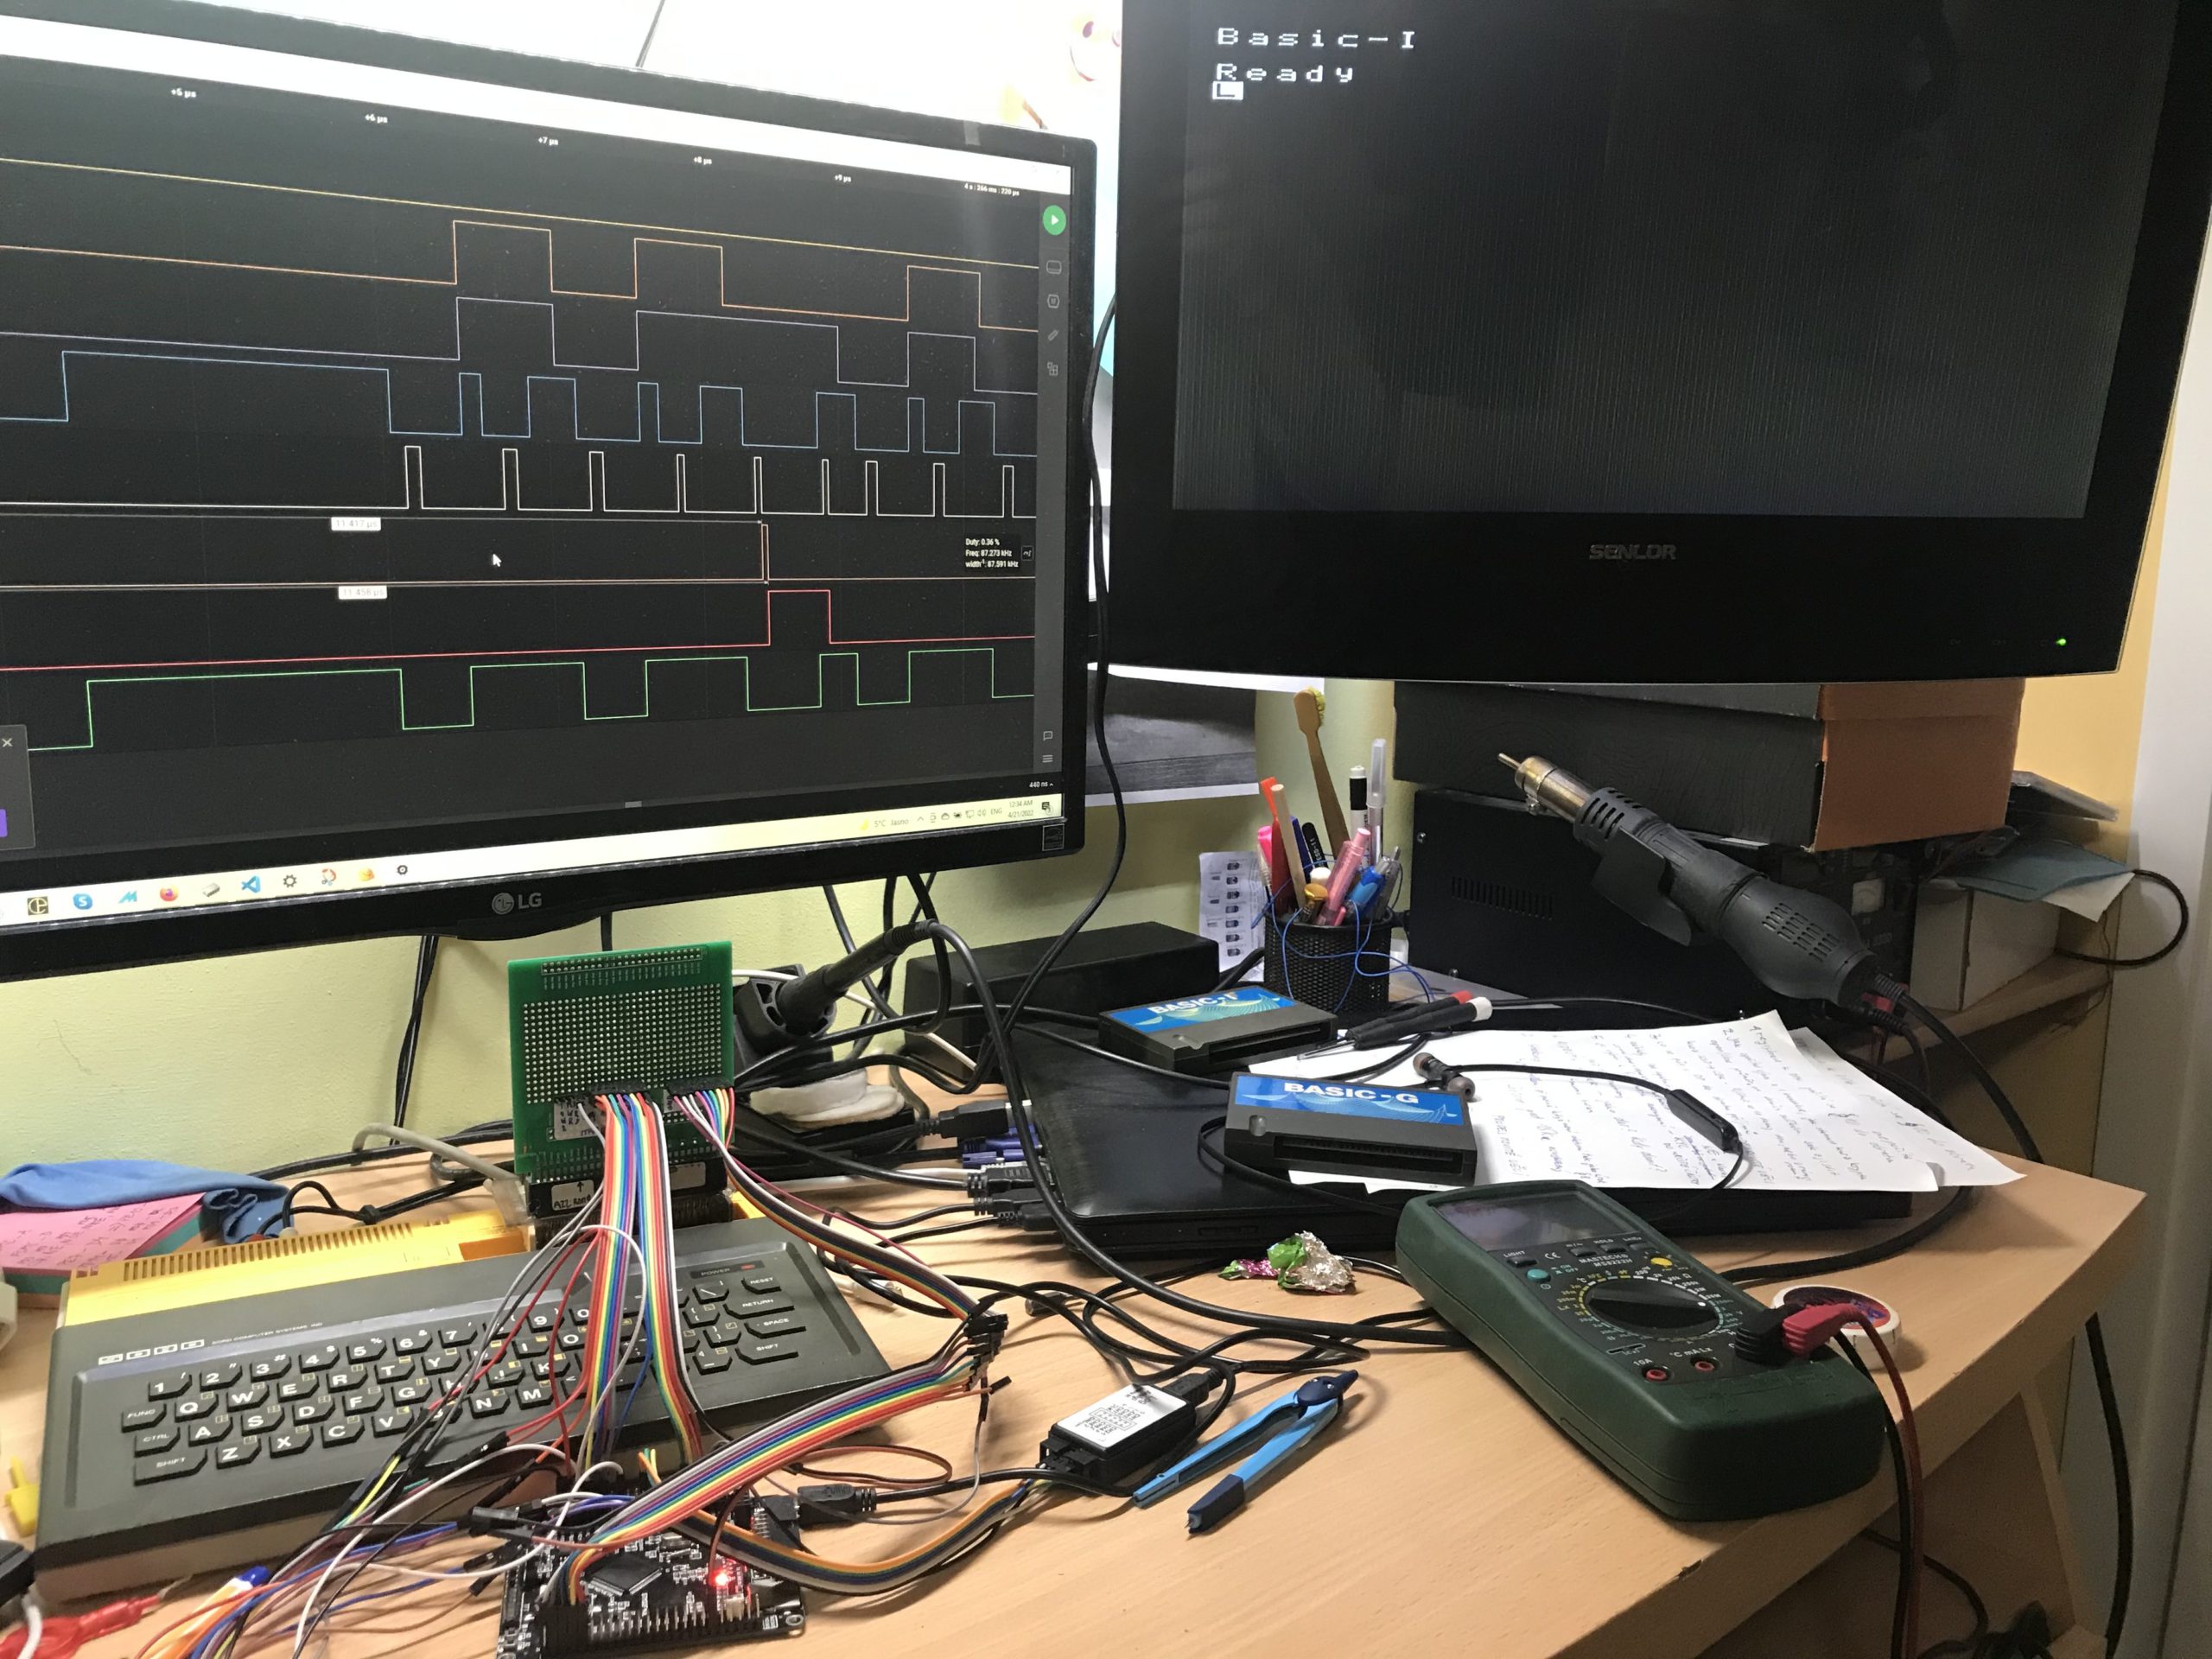
For debugging firmware, I used several methods. Since I had limited experience with ARM assembler, I occasionally verified the code's functionality in an online CPUlator emulator.7For timing tests, I used 4 GPIO pins connected to a logic analyzer. KernelCrash also used this method in his projects. However, this wasn't sufficient for more complex testing of program functionality. Therefore, I decided to get an STLINK dongle, specifically a non-original copy of the STM programmer.
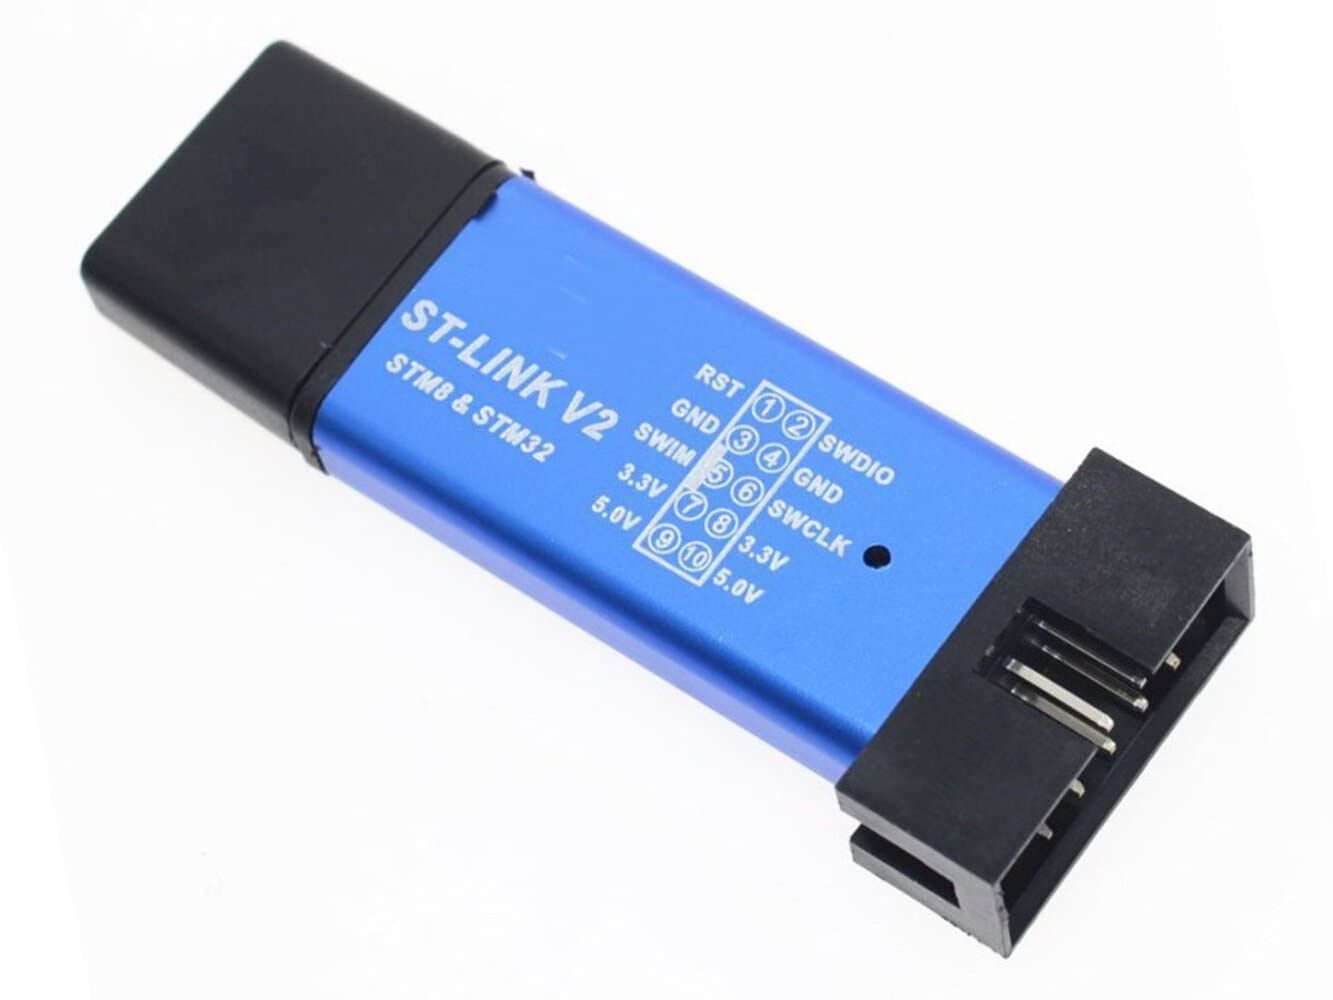
This device serves as both a programmer and a debugger probe, allowing you to step through a running program in real-time. It actually also provides power. However, it turned out to be not that simple. The issue is that when you stop the Arm processor, the Z80 processor doesn't wait; it keeps running, and usually, Sord crashes or starts loading from the cassette. I never managed for the STLINK to control the Sord's execution. I wanted to address this imperfection by printing various status messages to the console. This was done using SWV and the so-called ITM (Instrumentation Trace Macrocell), similar to Semihosting or UART, but faster, which I needed for interrupts. However, you first have to modify8 the STLINK dongle, which doesn't have the SWO signal necessary for the described printing. For some reason, it didn't work reliably. All of this was used for debugging the STM code. However, since I couldn't control the Z80 execution (see above), I also needed to monitor the Z80 code's execution. Therefore, I wrote a "Debugger" for Sord, a test program for memory modes independent of the ROM MONITOR. It could also write and read memory, jump to any location in memory. Unfortunately, even with the help of the "Debugger," I couldn't identify the error. Everything was working correctly. So why doesn't MSX work?! I needed to figure that out. It didn't occur to me to do anything better than to find out how the MSX loader works. This could be done by disassembling the compiled program, but I knew that Roman's Google Drive had the source code for the MSX boot. It also included comments that helped to understand its functionality. However, the hitch was that the desired program was somewhere in the middle of the cassette recording, and my earlier programs for converting WAV to CAS format didn't work completely reliably. Yes, I could use a WAV editor to cut out only the specific program, but since I needed a break from Flexi Card anyway, one evening I decided to rewrite the original conversion utility, written in C at the time, into Python, which I find more flexible nowadays.
WAV2CAS Converter Revived
So I spent several evenings working on the task of processing BFSK modulation and converting it into ones and zeros in the best way possible. Not that I didn't enjoy it, but when you know you're aiming for something completely different, and this is just one of the subtasks, I programmed it to extract the necessary data about 80%, and then I returned to the original project. So far, Tape Doctor, as I named the converter, is not entirely error-free. 😉
Bug Hunting Continues

Now armed with several new programs and with the prospect of easily uncovering the MSX malfunction, I continue the investigation. Understanding the MSX boot function wasn't difficult. In essence, it tested the memory type and ROM disconnect method, then initiated the loading of individual blocks, which are stored on tapes more or less backward for efficiency and quick recovery of damaged memory blocks after a reset.
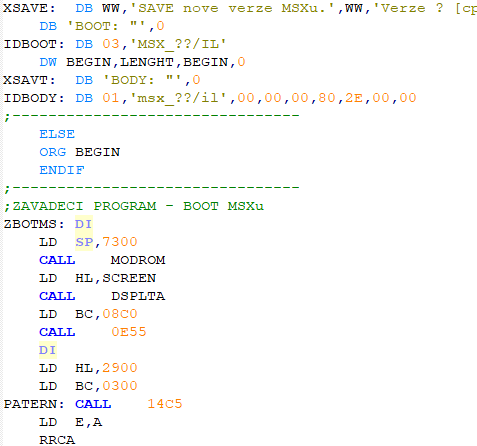
In the end, the last block was moved, where Sord has system RAM, ROM was disconnected, and it jumped to the MSX BIOS. To precisely isolate where the error occurred, I gradually placed a "breakpoint" in the boot, which jumped to my "Debugger," where I checked if everything in memory was as it should be. I concluded that everything was fine within the MSX Boot. So, the error occurred only in the MSX BIOS. To cut the story short, I found a spot that was erasing part of the memory using the LDIR instruction. I focused on memory writing and finally discovered the bug that had been bothering me for several months!

The issue was that I distinguished memory writing by testing the MREQ and MRD signals. If MRD was not active, I assumed it was MWR. But that was a beginner's mistake, well apparent even on the logic analyzer. I missed the fact that MREQ could be active even without MRD and MWR, in case DRAM was being refreshed, and at that moment, I was writing nonsense to memory. It was sufficient to consistently test for MREQ and MWR during writing and only write when both signals were active.
Another significant hiccup was my discovery that even when working with a port mapped as a byte, it doesn't automatically mean the upper byte is zero! So, it was futile to test the port address without ANDing the upper byte of the address bus.
Sord Flexi Card Communication
Afterward, things progressed quite briskly. Support for working with an SD card is provided by the open-source FatFs library, and all that was left for me was to figure out how to transfer data to RAM. Here, I conceptually differed from KernelCrash, who wrote data from the card to a controlled part of RAM. I could have done that as well, but it seemed more clever to use ports for communication. I reserved ports 80 and 81 (not used on Sord) for communication between STM32 and Sord. On port 81, you send a command, and then you read or write data, depending on the type of command on port 80.
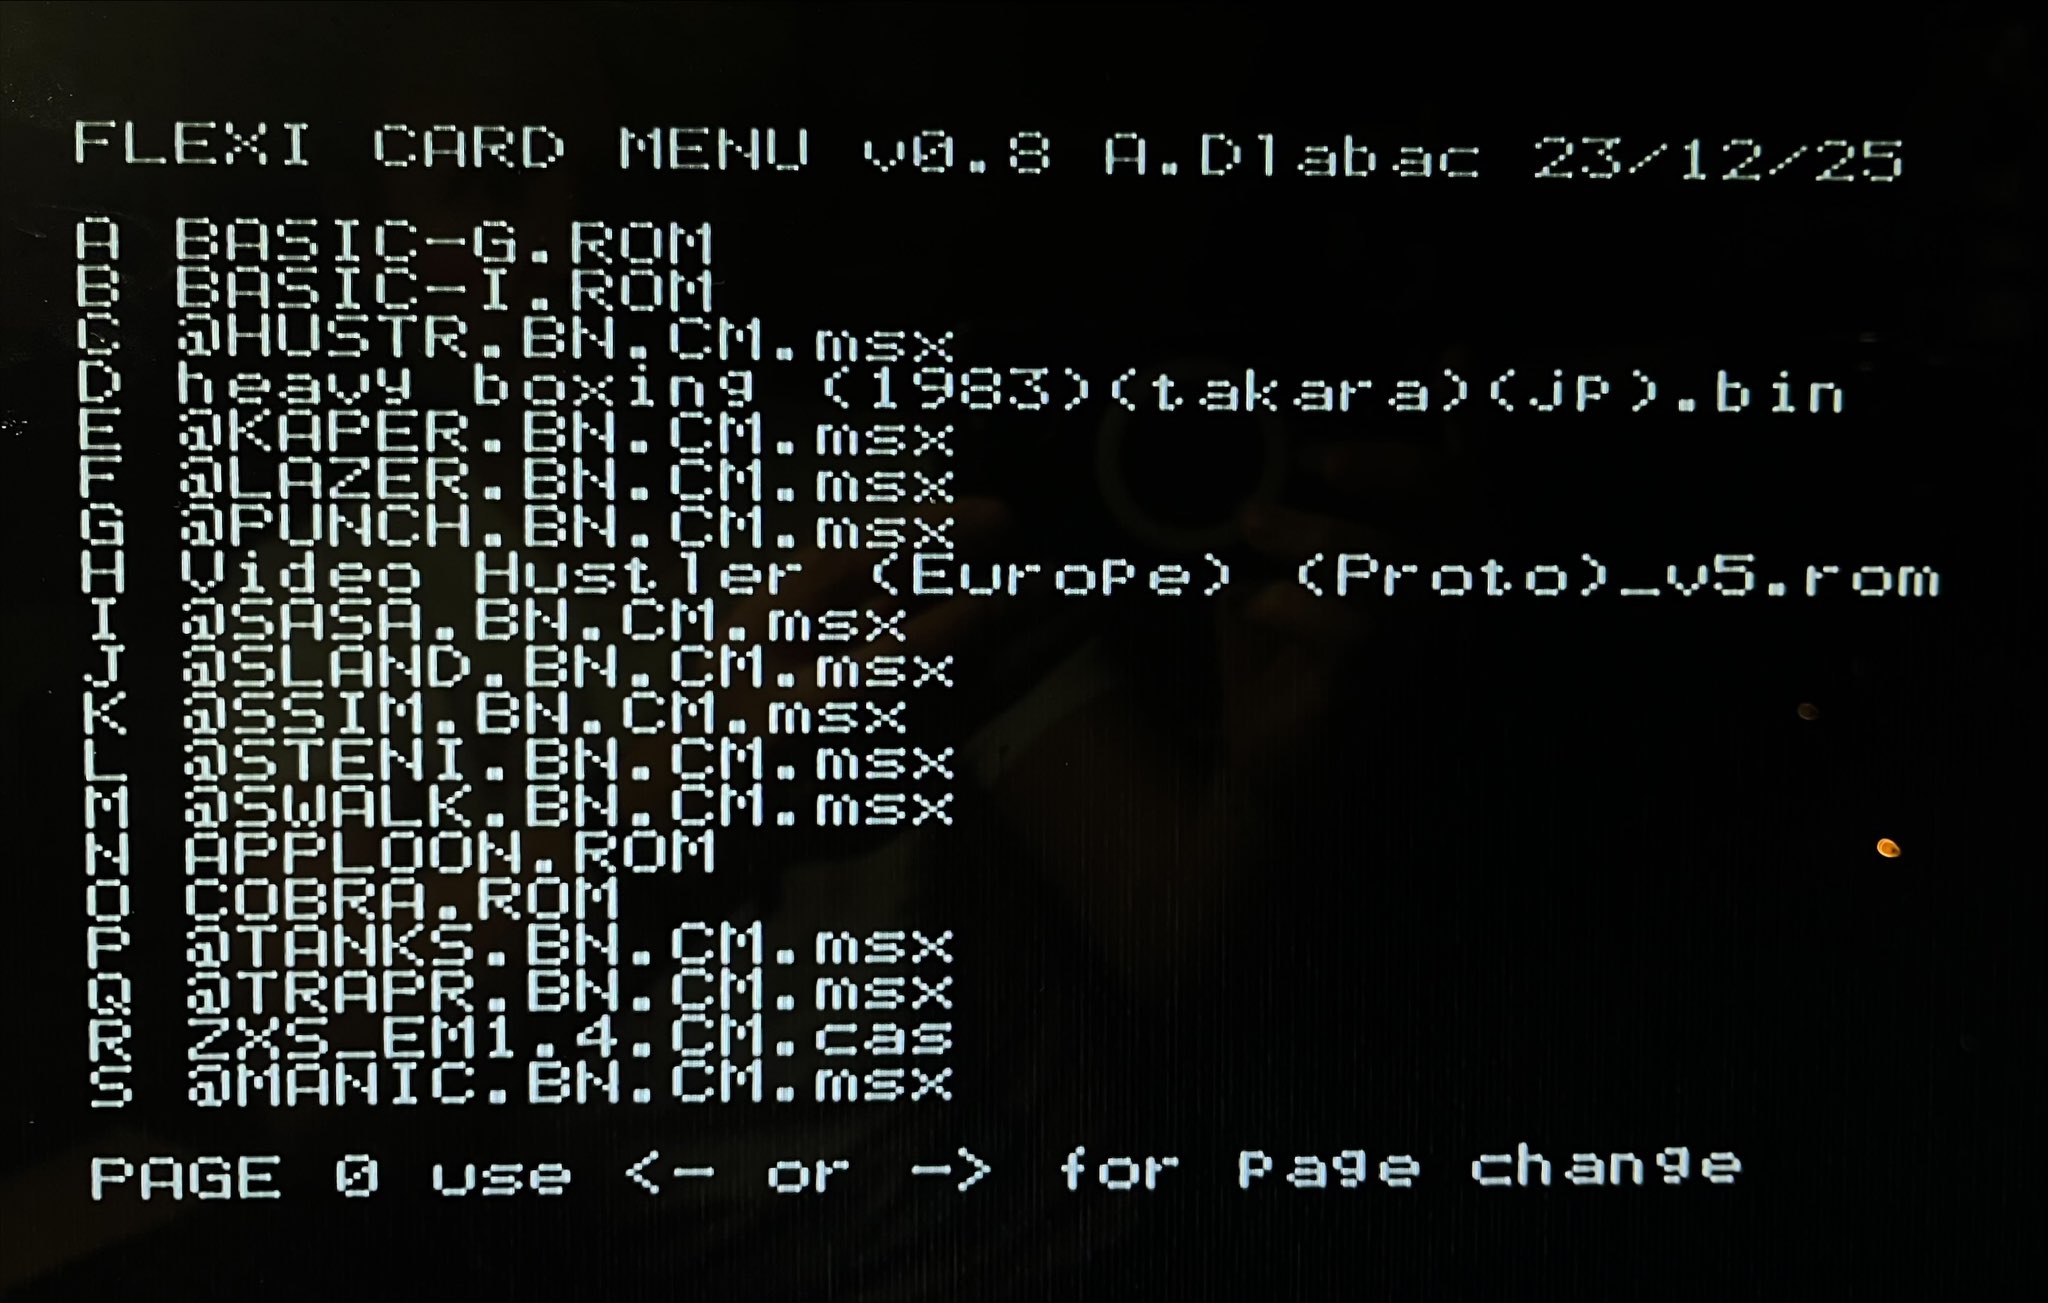
Then, I needed to write a program on Sord that displays programs stored on the SD card and allows the user to run them. I support several types of programs: ROM, which operates like a cartridge program; single-part CAS, containing a machine code program with autostart; and MSX, which are programs in CAS format but for MSX, which, before launching, loads MSX. I wrote the utility program directly in Z80 assembly, and it's nothing groundbreaking. To write it as quickly as possible, I added some emulation of this protocol to MAME, simulating the Flexi Card's operation. In the process, I fixed a few nasty bugs and uncommented my modifications to the Sord driver, which, for some unknown reason, were removed in an older version of MAME. When I have time, I'll clean up the code and push it to the MAME remote server.
Finale
As for what comes next, there are plenty of possibilities, unlike free time. First, I will try to eliminate all the bugs in Flexi Card. Later, I would definitely like to complete the CP/M emulation, but it will, of course, only work for owners of a modified Sord. More on that hereThen, hopefully, support for loading Basic programs saved in CAS format. However, this may be quite complicated for various multi-part programs, so I'll consider it later. While with MSX programs, you can load the program first and then MSX, with Basic, it's a problem. Basic thoroughly resets and erases the previous program during its initialization. So here, you need to call the program load only after Basic starts, but I haven't got that running yet. My brother already has few of ideas for improvements, for example, he created a version in which, using a modification of the MONITOR ROM , were he redirects file reading from cassette to Flexi Card. So, we'll see where we push it together 🙂
In this article, I describe the operation of Flexi Card and provide all the source codes so that others can build their own Flexi Card clones and develop its skills, which I didn't have in the original version.
- https://www.kernelcrash.com/ ↩︎
- https://easyeda.com/ ↩︎
- https://os.mbed.com/users/hudakz/code/STM32F407VET6_Hello/shortlog/ ↩︎
- https://github.com/mcauser/MCUDEV_DEVEBOX_F407VET6 ↩︎
- https://platformio.org/ ↩︎
- https://www.keil.arm.com/cmsis ↩︎
- https://cpulator.01xz.net/?sys=arm ↩︎
- https://www.codeinsideout.com/blog/stm32/swv/#st-linkv2-schematic ↩︎